Why Grouting Matters: Essential Benefits and Expert Tips for Perfect Tile Installation
 ARDEX ENDURA
 13 Mar 2026
 05 Min
When people think about tile installation, they usually focus on the colour, pattern and design of the tiles. However, the importance of grouting is often overlooked, even though it plays a critical role in the overall performance of the installation.
Grout fills gaps between tiles, locking them into place while creating a seamless finish. Beyond aesthetics, it adds structural strength by distributing load, protecting against moisture and improving long-term durability. Without proper grouting, tiles can loosen, crack or suffer water damage.
What Is Tile Grouting and Why Is It Important?
Tile grouting is the process of filling the joints between tiles using a specialised compound, known as tile grout.
Without grouting, tiles can shift under pressure. That shifting leads to cracks, uneven edges and eventual failure. This highlights the importance of grouting as it strengthens the entire tile installation.
Grouting also creates a sealed surface that resists water and dirt. In wet areas, this seal prevents moisture from settling beneath tiles. As a result, tile grouts contribute to better hygiene and easier maintenance.
How Grout Protects Your Tile Installation?
Structural Stability & Load Distribution
Grout supports the edges of each tile, keeping them in place and preventing them from moving under pressure. By distributing weight across the surface, tile grout reduces stress on tiles and helps prevent cracking or loosening.
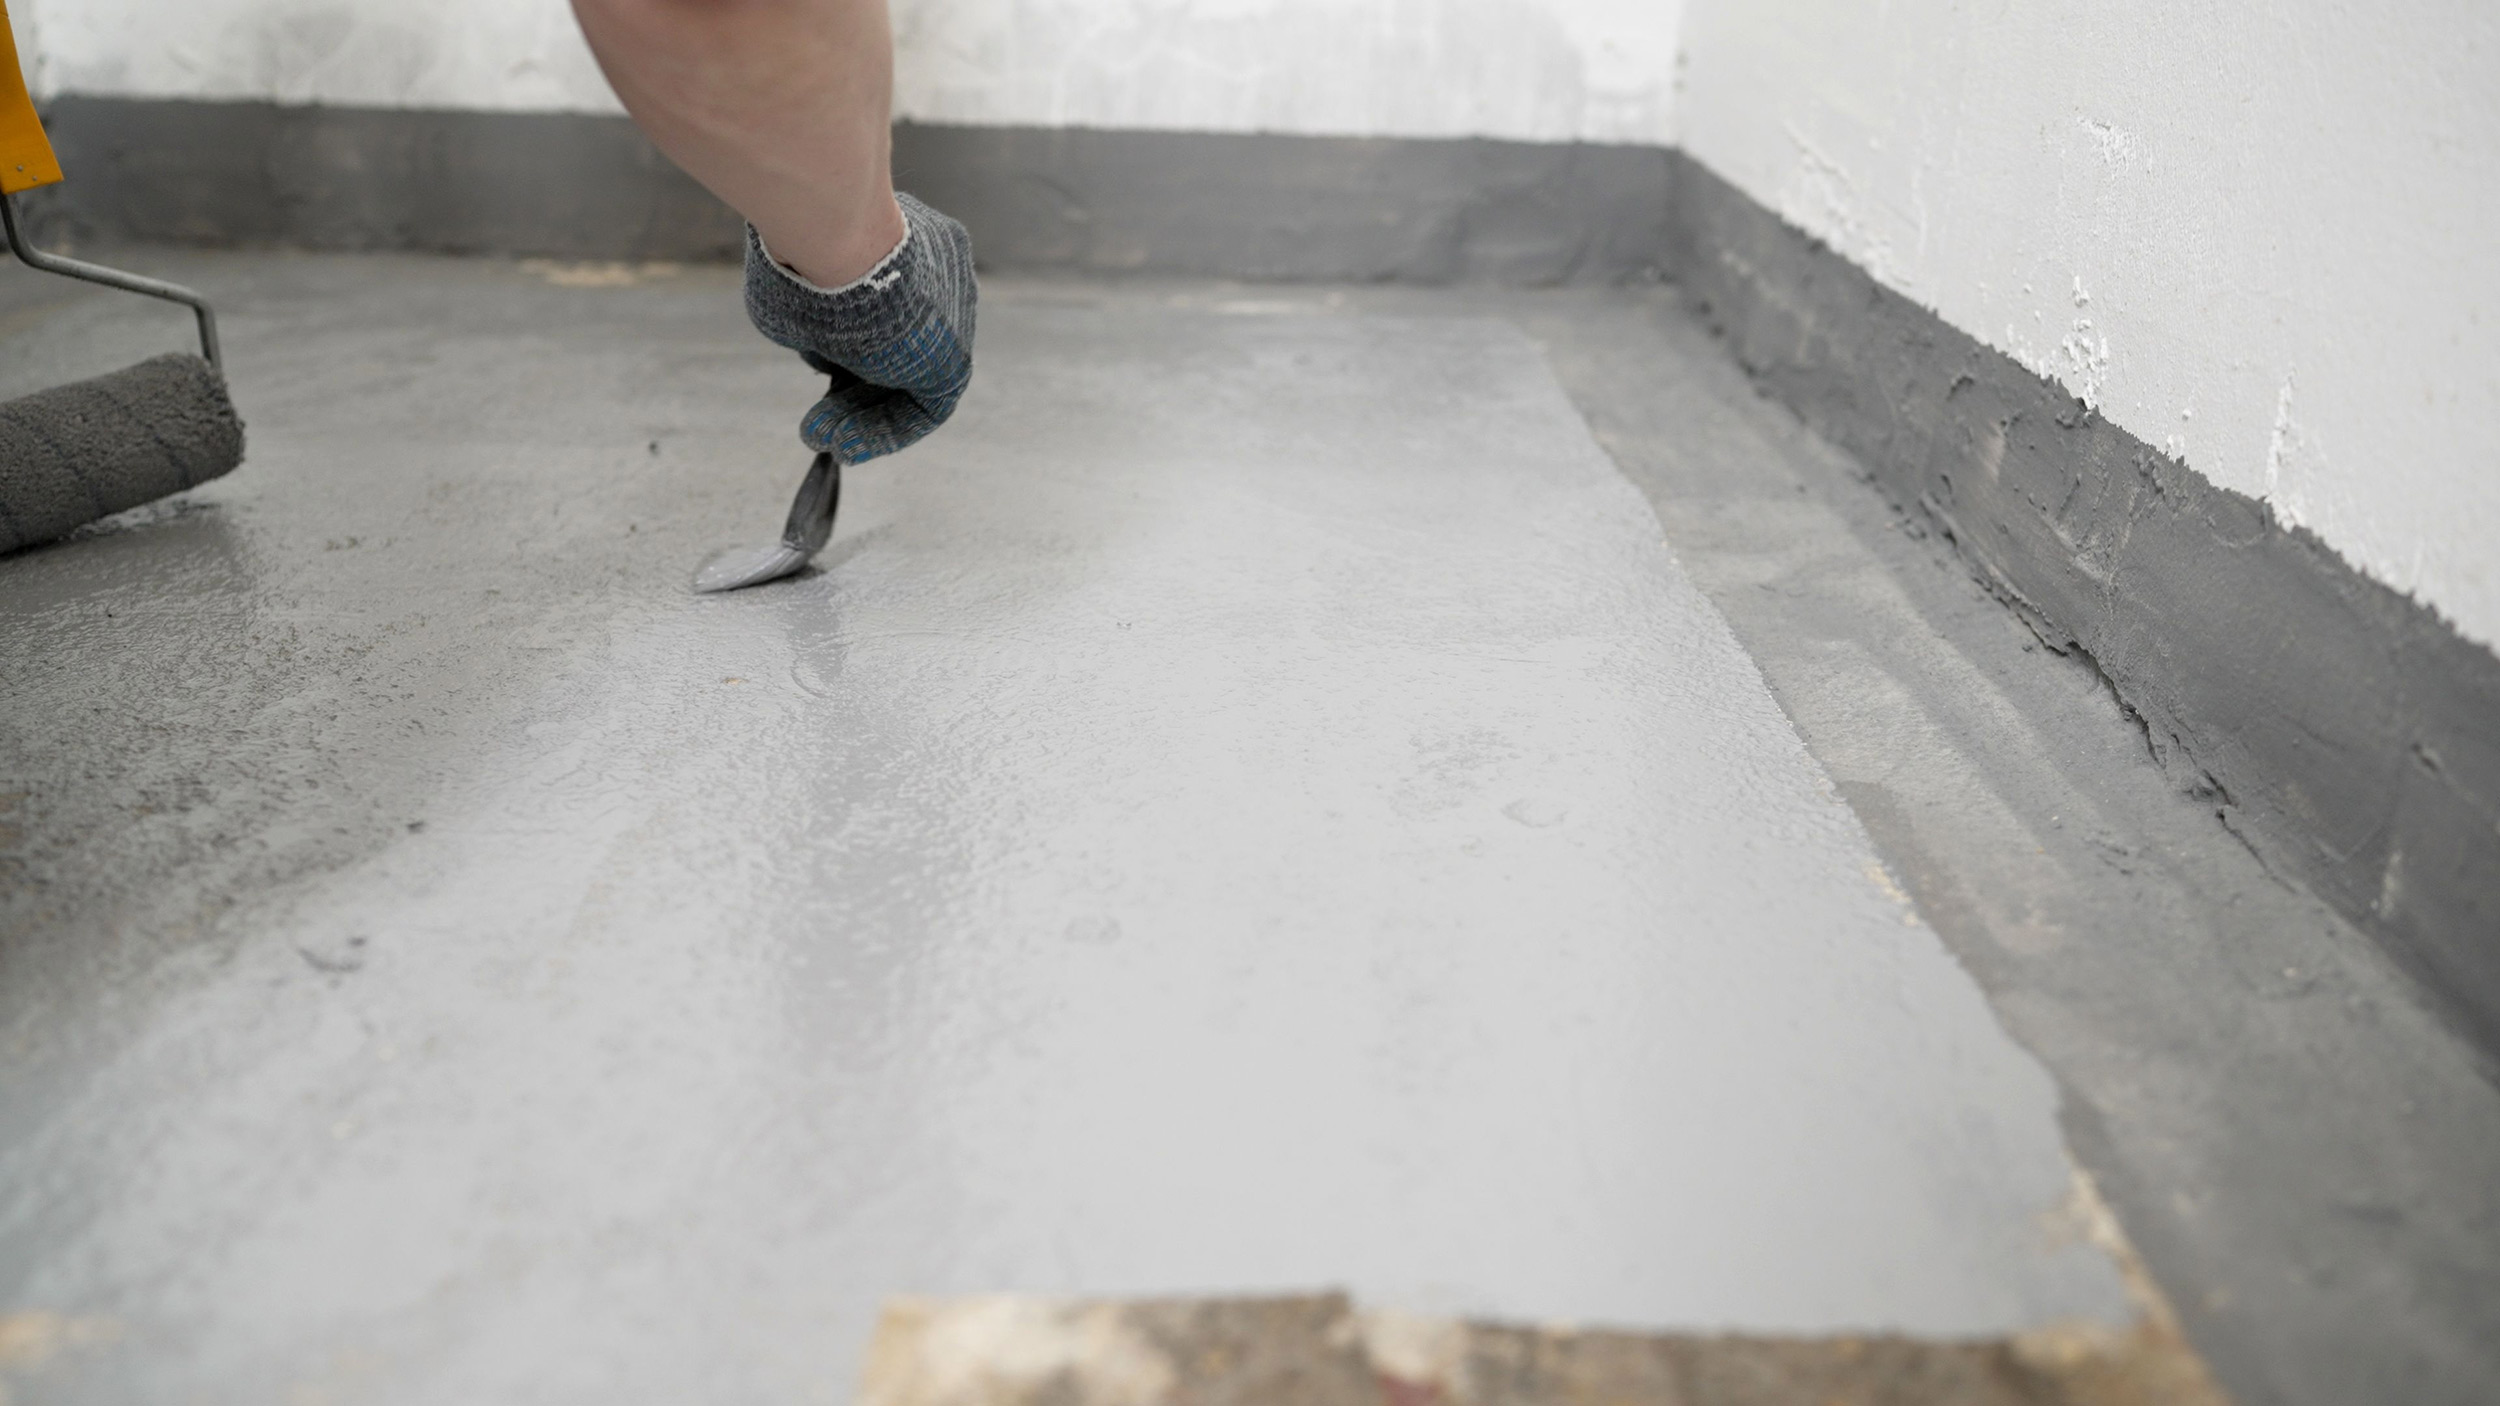
Moisture Resistance & Waterproofing Support
Water is the biggest enemy of tile installation. If water seeps into the substrate, it can cause structural rot or adhesive failure. Grouts act as barriers, directing water toward the drains and keeping the sub-floor dry.
Hygiene & Stain Prevention
In wet areas like bathrooms, moisture leads to mould and bacterial growth. Tile grouts reduce spaces where bacteria can grow, which in turn prevents dirt accumulation within joints and supports healthier indoor environments.
Types of Tile Grouts and When to Use Them
Cement-Based Polymer Modified Grout
Cement-based, polymer-modified grout is water-resistant and well-suited for residential floors and walls.
Cement Polymer Grout supports joints up to 6 mm and can be used on both interior and exterior surfaces. It mixes easily with water and dries in just 15 minutes, making application quicker and more efficient.
Epoxy Grout for High-Performance Areas
For areas requiring maximum durability, such as bathrooms, kitchens, hospitals, etc., Epoxy Grout stands out as a dependable solution. Suitable for joint widths of 1-12 mm, it performs effectively on both interior and exterior surfaces.
The grout comes in three components that need to be mixed. Once applied, it can be cleaned off within 15 to 60 minutes, offering convenience during installation.
Polymer Additives for Enhanced Performance
Sometimes, standard grouts need added support to meet specific performance needs. Polymer additives strengthen the grout and improve flexibility.
Admix GT 1 is a liquid polymer additive designed for use with cement-based grouts. When added, it improves adhesion to tiles, increases abrasion resistance and reduces water permeability, resulting in stronger, longer-lasting performance.
Wide Joint Grout for Larger Gaps
Some tile layouts require wider joints. Wide Joint Grout is designed for such applications. It fills larger gaps effectively without shrinkage. This ensures uniform strength across the surface. As a result, it is suitable for heavy-duty floors and exterior areas.
How to Choose the Right Grout for Your Project?
Consider Tile Type and Size
The size and type of tiles you choose directly affect the grout you choose. Larger tiles and wider joints usually need stronger, more flexible grouts, while smaller tiles pair well with standard options.
Evaluate Moisture Exposure
In moisture-prone areas such as bathrooms, kitchens, or outdoor spaces, water-resistant or epoxy grout helps prevent mould, mildew, and staining. For dry spaces, standard cement-based grout is usually sufficient and more budget-friendly.
Traffic Load & Usage
For high-traffic floors, choose a durable, crack-resistant grout that can handle constant use, while low-traffic walls do not require such heavy-duty performance.
Aesthetic Preferences
For a seamless, minimalist look, match the grout colour to the tiles. For bold patterns or more visual character, choose a darker or contrasting grout to highlight each tile.
Step-by-Step Guide to Proper Grouting
Step 1 – Prepare the Tile Surface
Ensure Tiles Are Firmly Fixed
Proper grouting begins with surface preparation. Make sure tiles are firmly in place before starting, as any loose tiles can weaken the installation.
Step 2 – Mix Grout Correctly
Follow Manufacturer Water Ratios
Always follow the manufacturer's water ratios. Avoid adding excess water, as this can lead to weak joints and efflorescence.
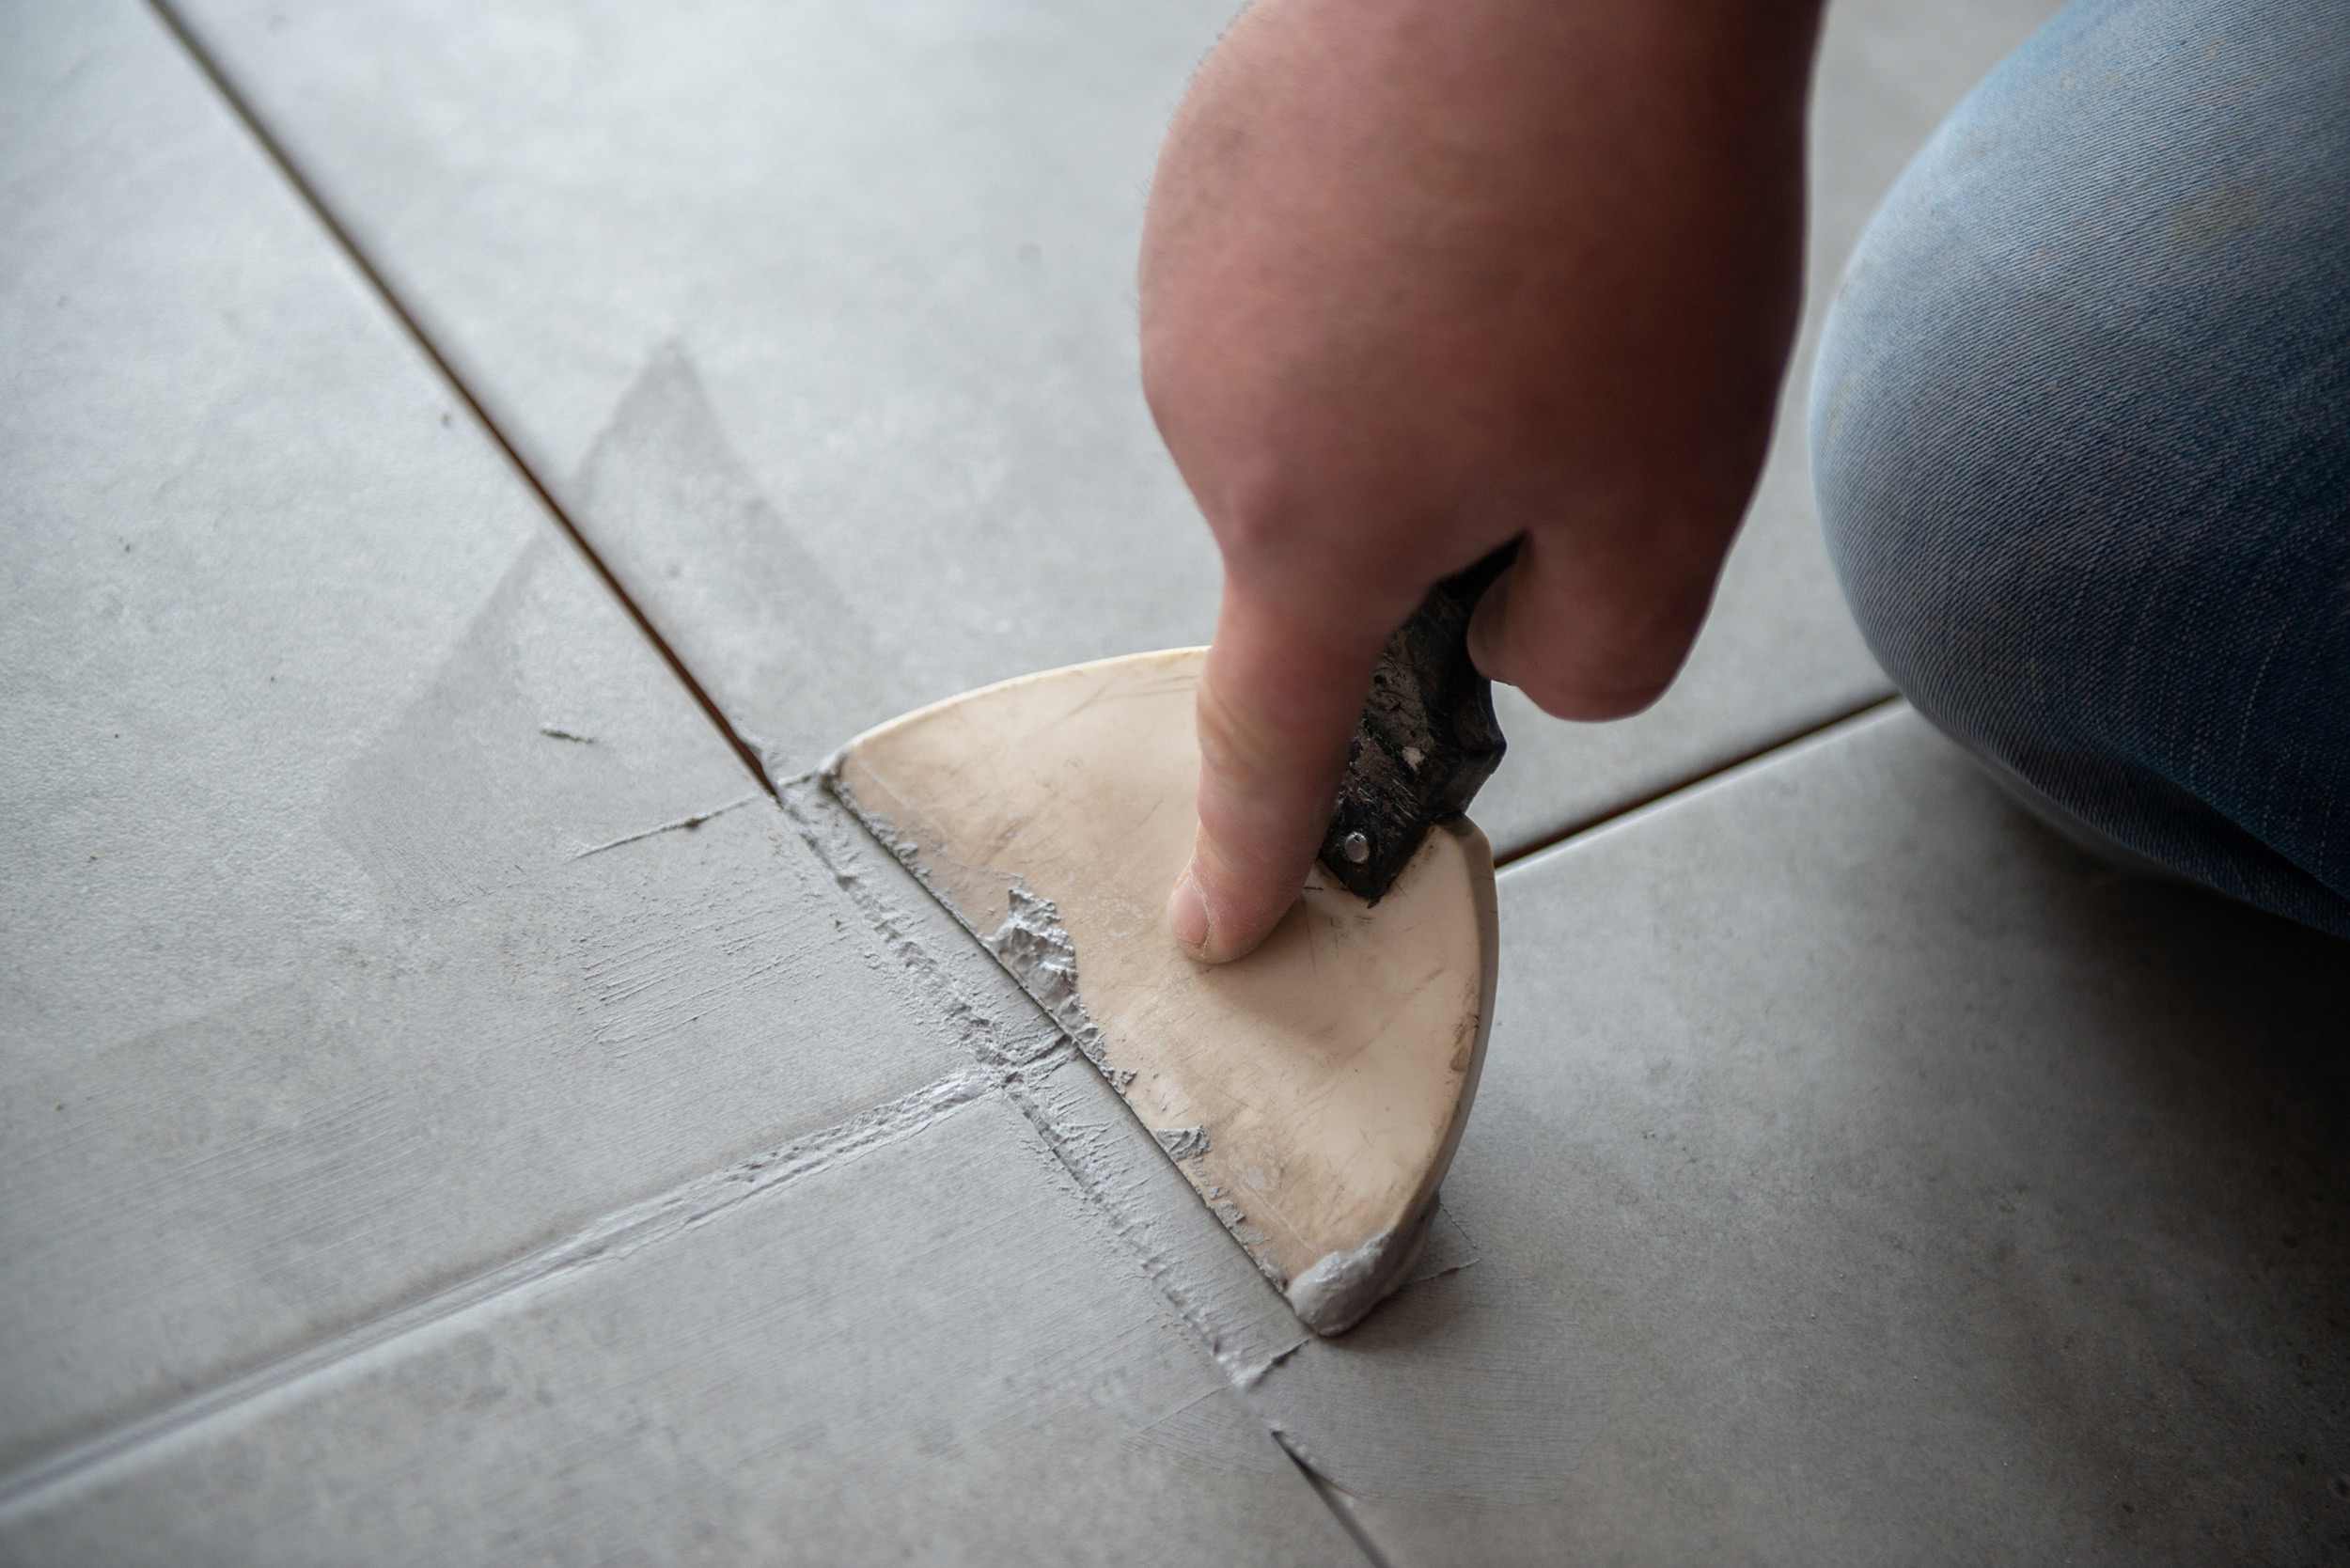
Step 3 – Apply Grout Properly
Use a Rubber Float at a 45° Angle
Hold the rubber float at a 45° angle and spread the tile grout evenly into the joints to ensure no air pockets remain.
Step 4 – Clean the Surface
Remove Haze Without Excess Water
Use a damp sponge to remove the haze. Do not use too much water as it can wash out the pigment.
Step 5 – Allow Proper Curing Time
Give the grouting sufficient time to set. Avoid walking on the surface until it is fully cured.
Common Grouting Problems and How to Prevent Them
Cracked Grout Lines
Cracks often appear due to improper mixing, weak subfloor support or movement beneath the tiles. To avoid this, use the right tile grout type, mix correctly and ensure a stable base.
Efflorescence (White Powder Deposits)
Efflorescence shows up as white residue caused by moisture drawing salts to the surface. Reduce the risk by controlling water usage during mixing and allowing proper curing and ventilation.
Discolouration
Uneven colour can result from inconsistent mixing, excess water or improper cleaning. To prevent this, follow the manufacturer's instructions and avoid over-wiping grout lines while they set.
Hollow Tiles After Installation
Hollow sounds indicate poor adhesive coverage or air gaps beneath tiles. To ensure this does not happen, apply adhesive evenly, press tiles firmly into place, and check each tile is fully supported during installation.
Maintenance Tips for Long-Lasting Grout Performance
Regular Cleaning Practices
Clean tile grout regularly with pH-neutral cleaners to gently remove dirt and residue.
Avoid Harsh Chemicals
Avoid using acidic or abrasive cleaners as they can erode grout and cause discolouration or premature damage.
Reapplication or Repair When Needed
Check grout lines periodically and fix small damaged areas early to prevent moisture penetration and extend tile life.
Final Thoughts – Invest in the Right Grout for Lasting Results
Understanding the importance of grouting is key, as grout not only keeps tiles strong and stable but also acts as a structural backbone.
It distributes weight, resists moisture and protects surfaces from wear over time. Explore the full range of Ardex Endura Tile Joint Grouts and give every tile installation the strength, reliability and flawless finish it deserves.