How to Waterproof Swimming Pools – A Step-by-Step Approach
 ARDEX ENDURA
 12 Nov 2025
 05 Min
Why Getting Pool Waterproofing Right Makes All the Difference
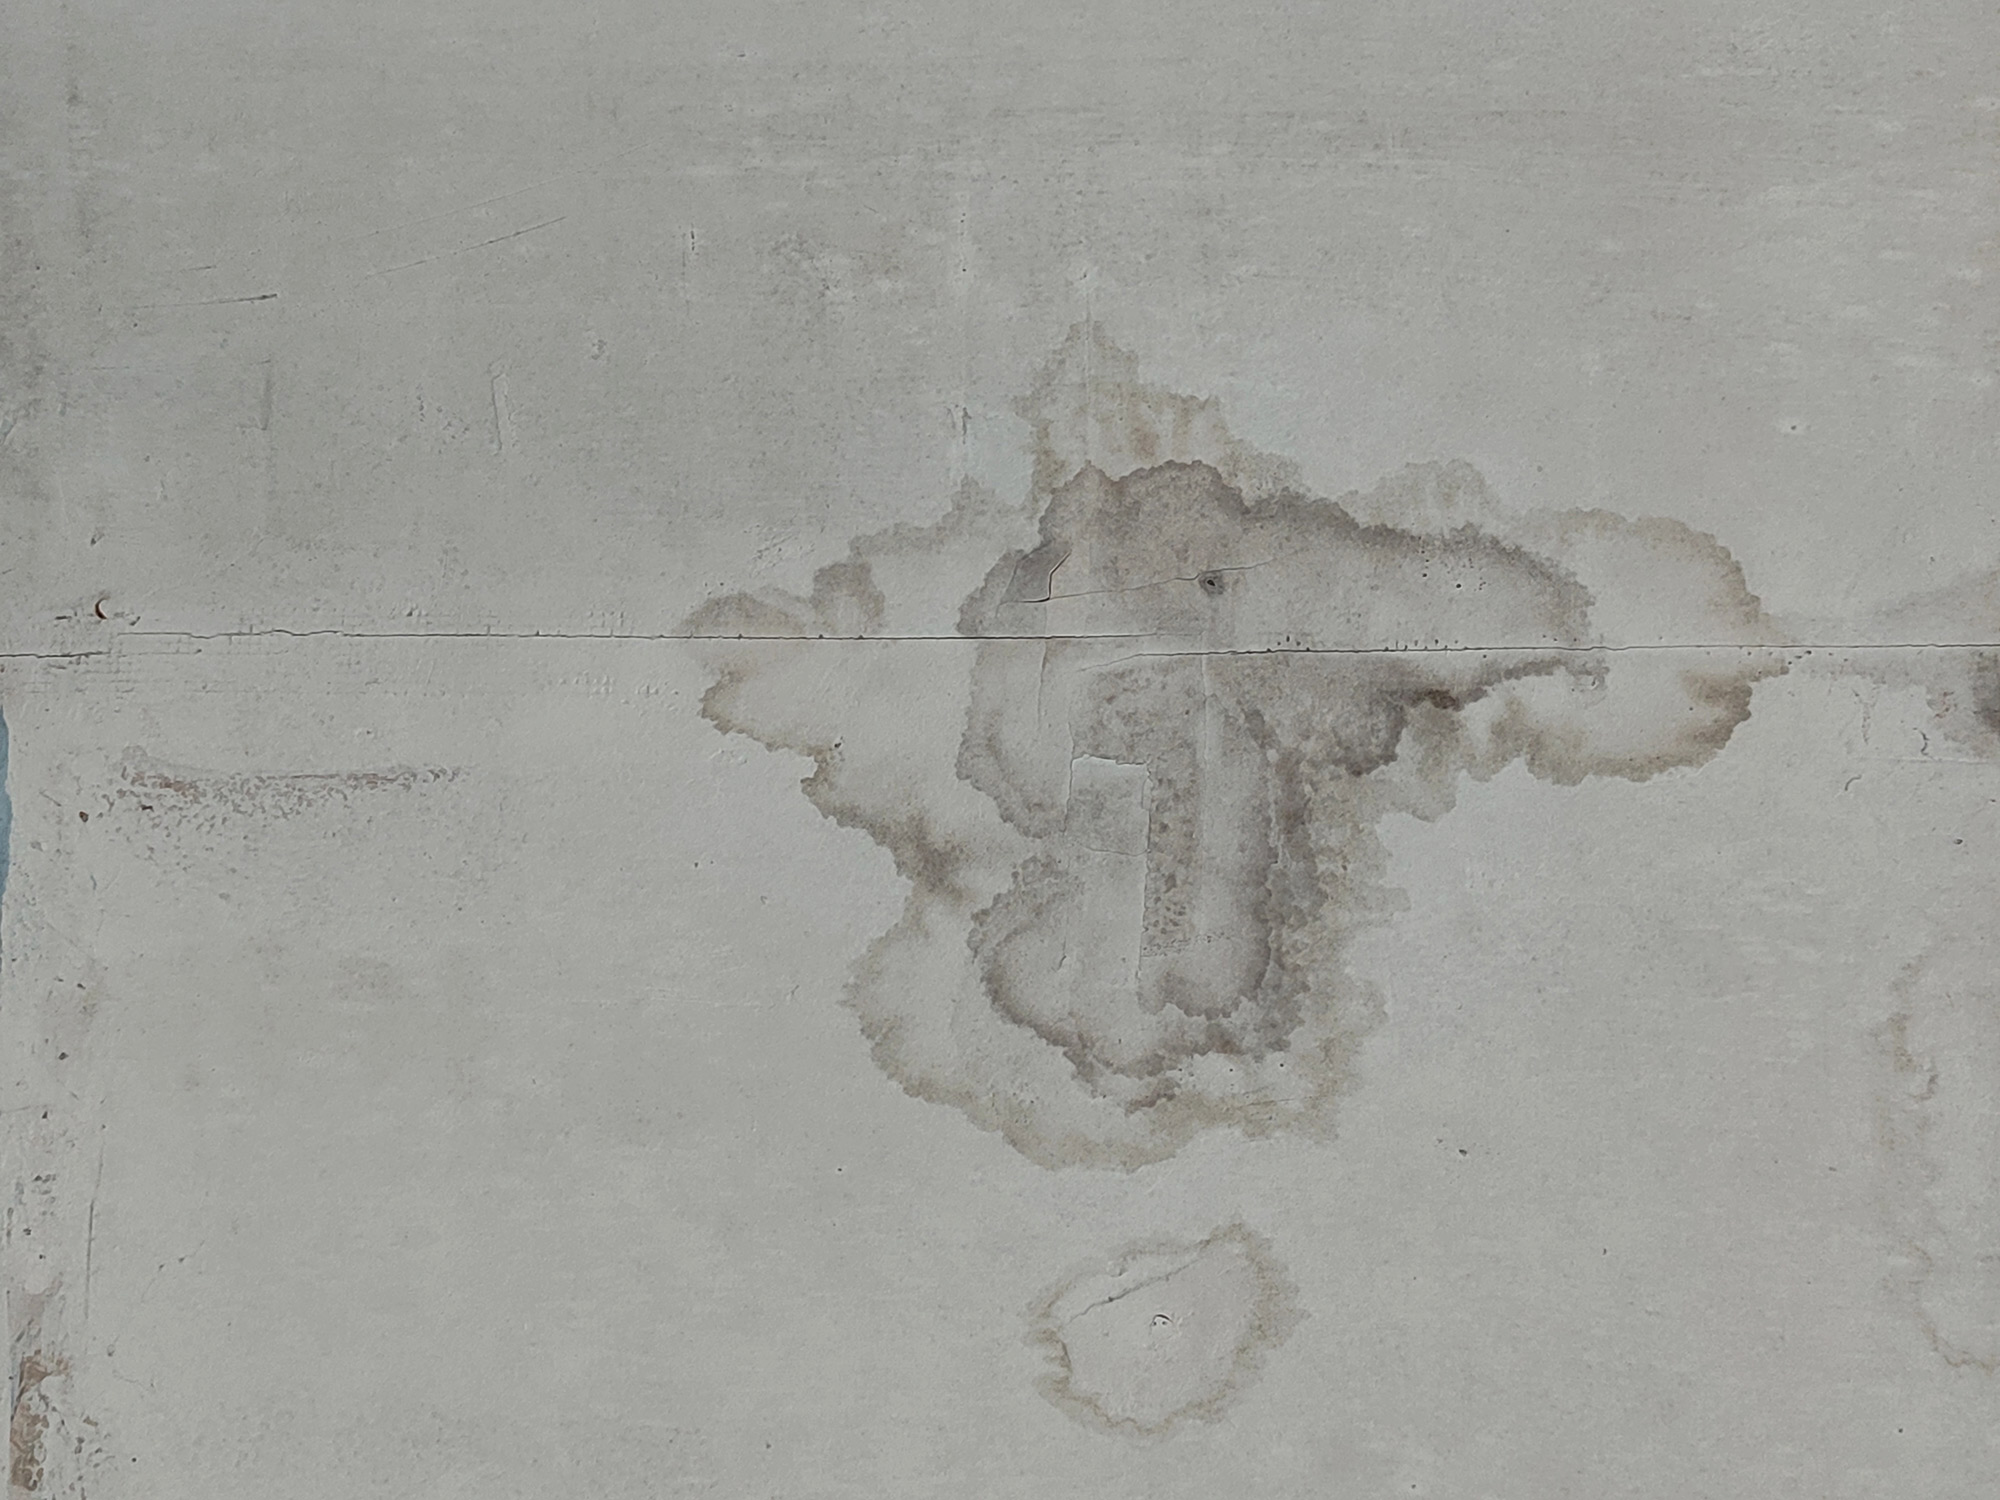
A swimming pool is a water-retaining structure. Hence, it constantly battles hydrostatic pressure which necessitates swimming pool waterproofing.
Nevertheless, if your swimming pool isn’t waterproofed properly, leaks can show up through cracks in joints, poor compaction, or weak coatings. Moreover, what starts as a small seepage can quickly translate into costly repairs.
Good swimming pool waterproofing ensures the following:
- Prevents Water Leakage & Seepage – Ensures complete water tightness of the pool.
- Protects Structural Durability – Safeguards concrete and steel from deterioration.
- Resists Pool Chemicals – Withstands chlorine and cleaning agents without damage.
- Prevents Cracks & Tile Failures – Bridges minor cracks and avoids tile debonding.
- Reduced Maintenance - By preventing water ingress the need for frequent repairs is minimised.
- Hygiene - Since stagnant water behind tiles often leads to fungal growth
Key Steps in Waterproofing a Swimming Pool
The pool waterproofing process follows clear and simple steps. But if you miss even one step, the whole system can potentially weaken. The key stages include:
- Pre-construction planning and concrete quality
- Careful surface preparation before membrane application
- Application of suitable waterproofing membranes
- Strengthening the corners as well as pipe penetrations
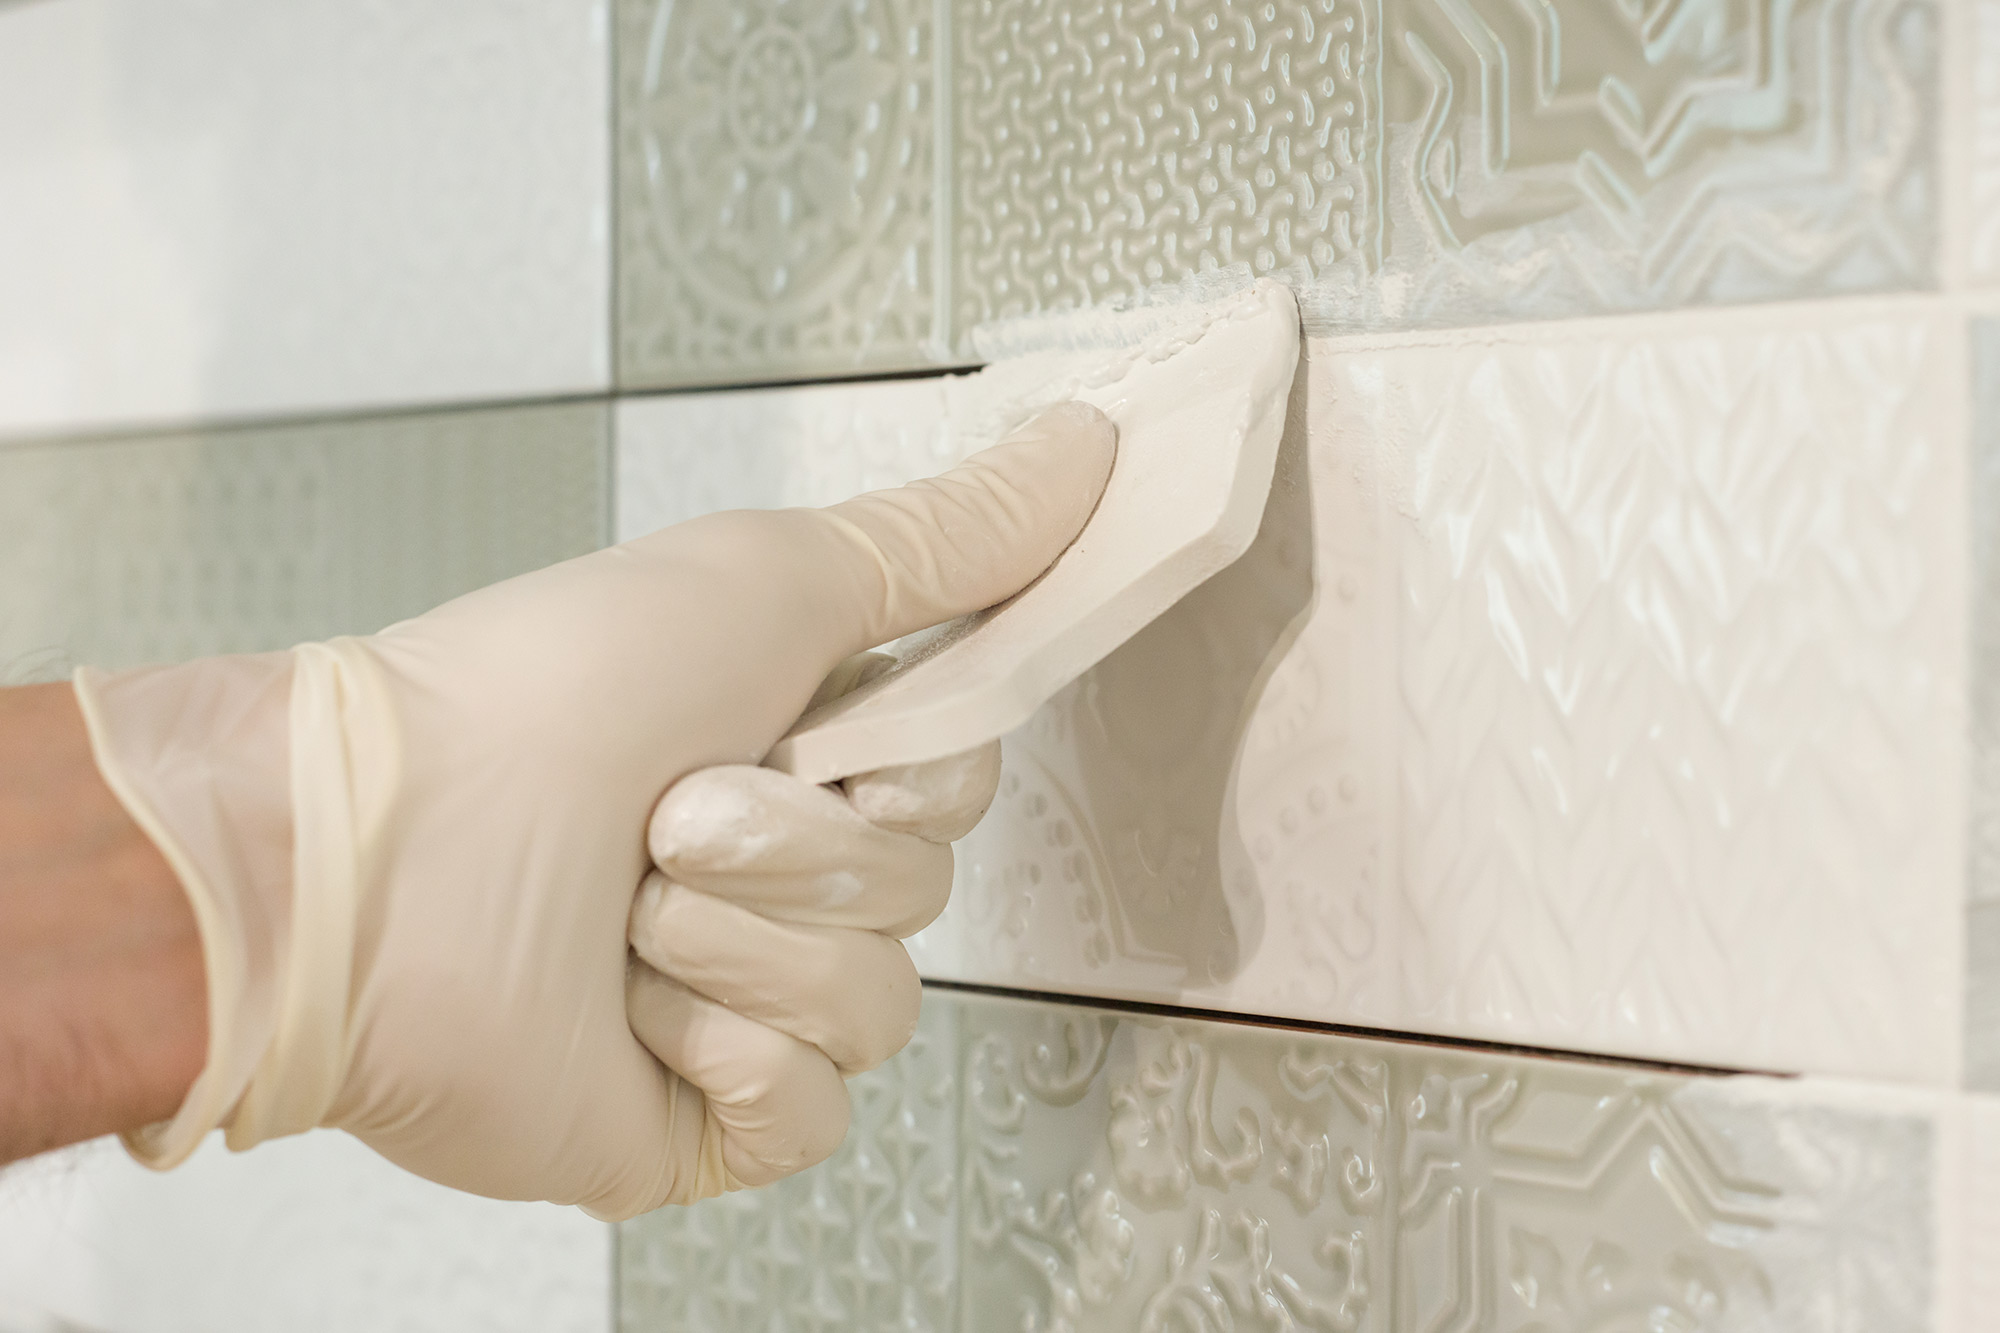
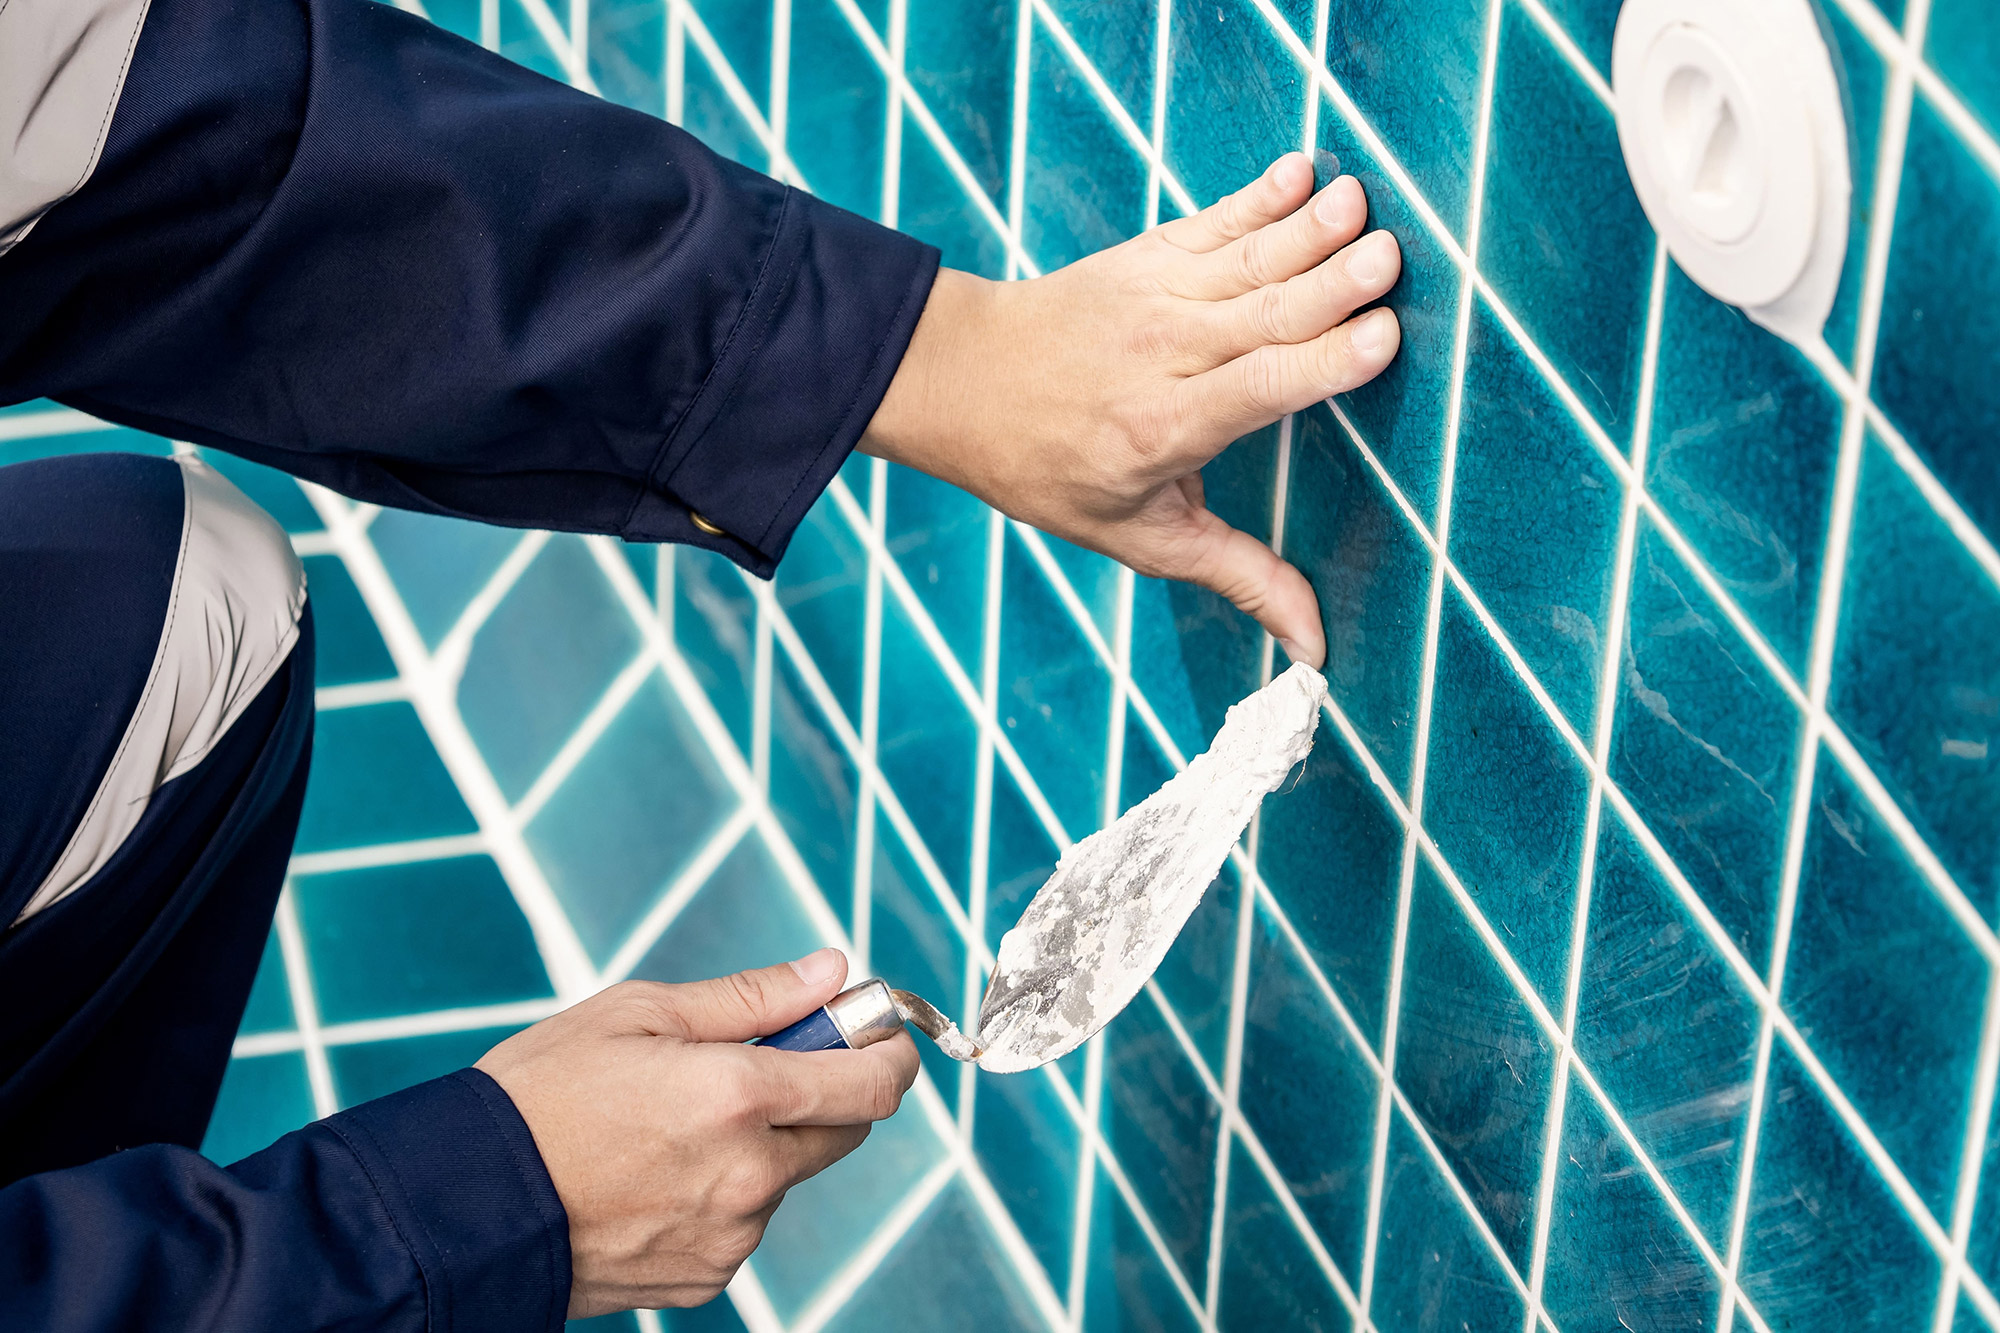
- Finishing with adhesives and grouts that work with the waterproofing system
- Final leak test before use
Pre-Construction Best Practices
The process begins with the pool shell itself. Make sure to use high-quality concrete and proper vibration during casting. This helps reduce voids and honeycombing, as these air pockets are common weak points for leaks.
Construction joints and pipe penetrations must be carefully handled, too. Swellable water-bars or polymer mortars at these points help you block the potential leakage paths. We recommend planning these details early, as it saves a lot of effort later on.
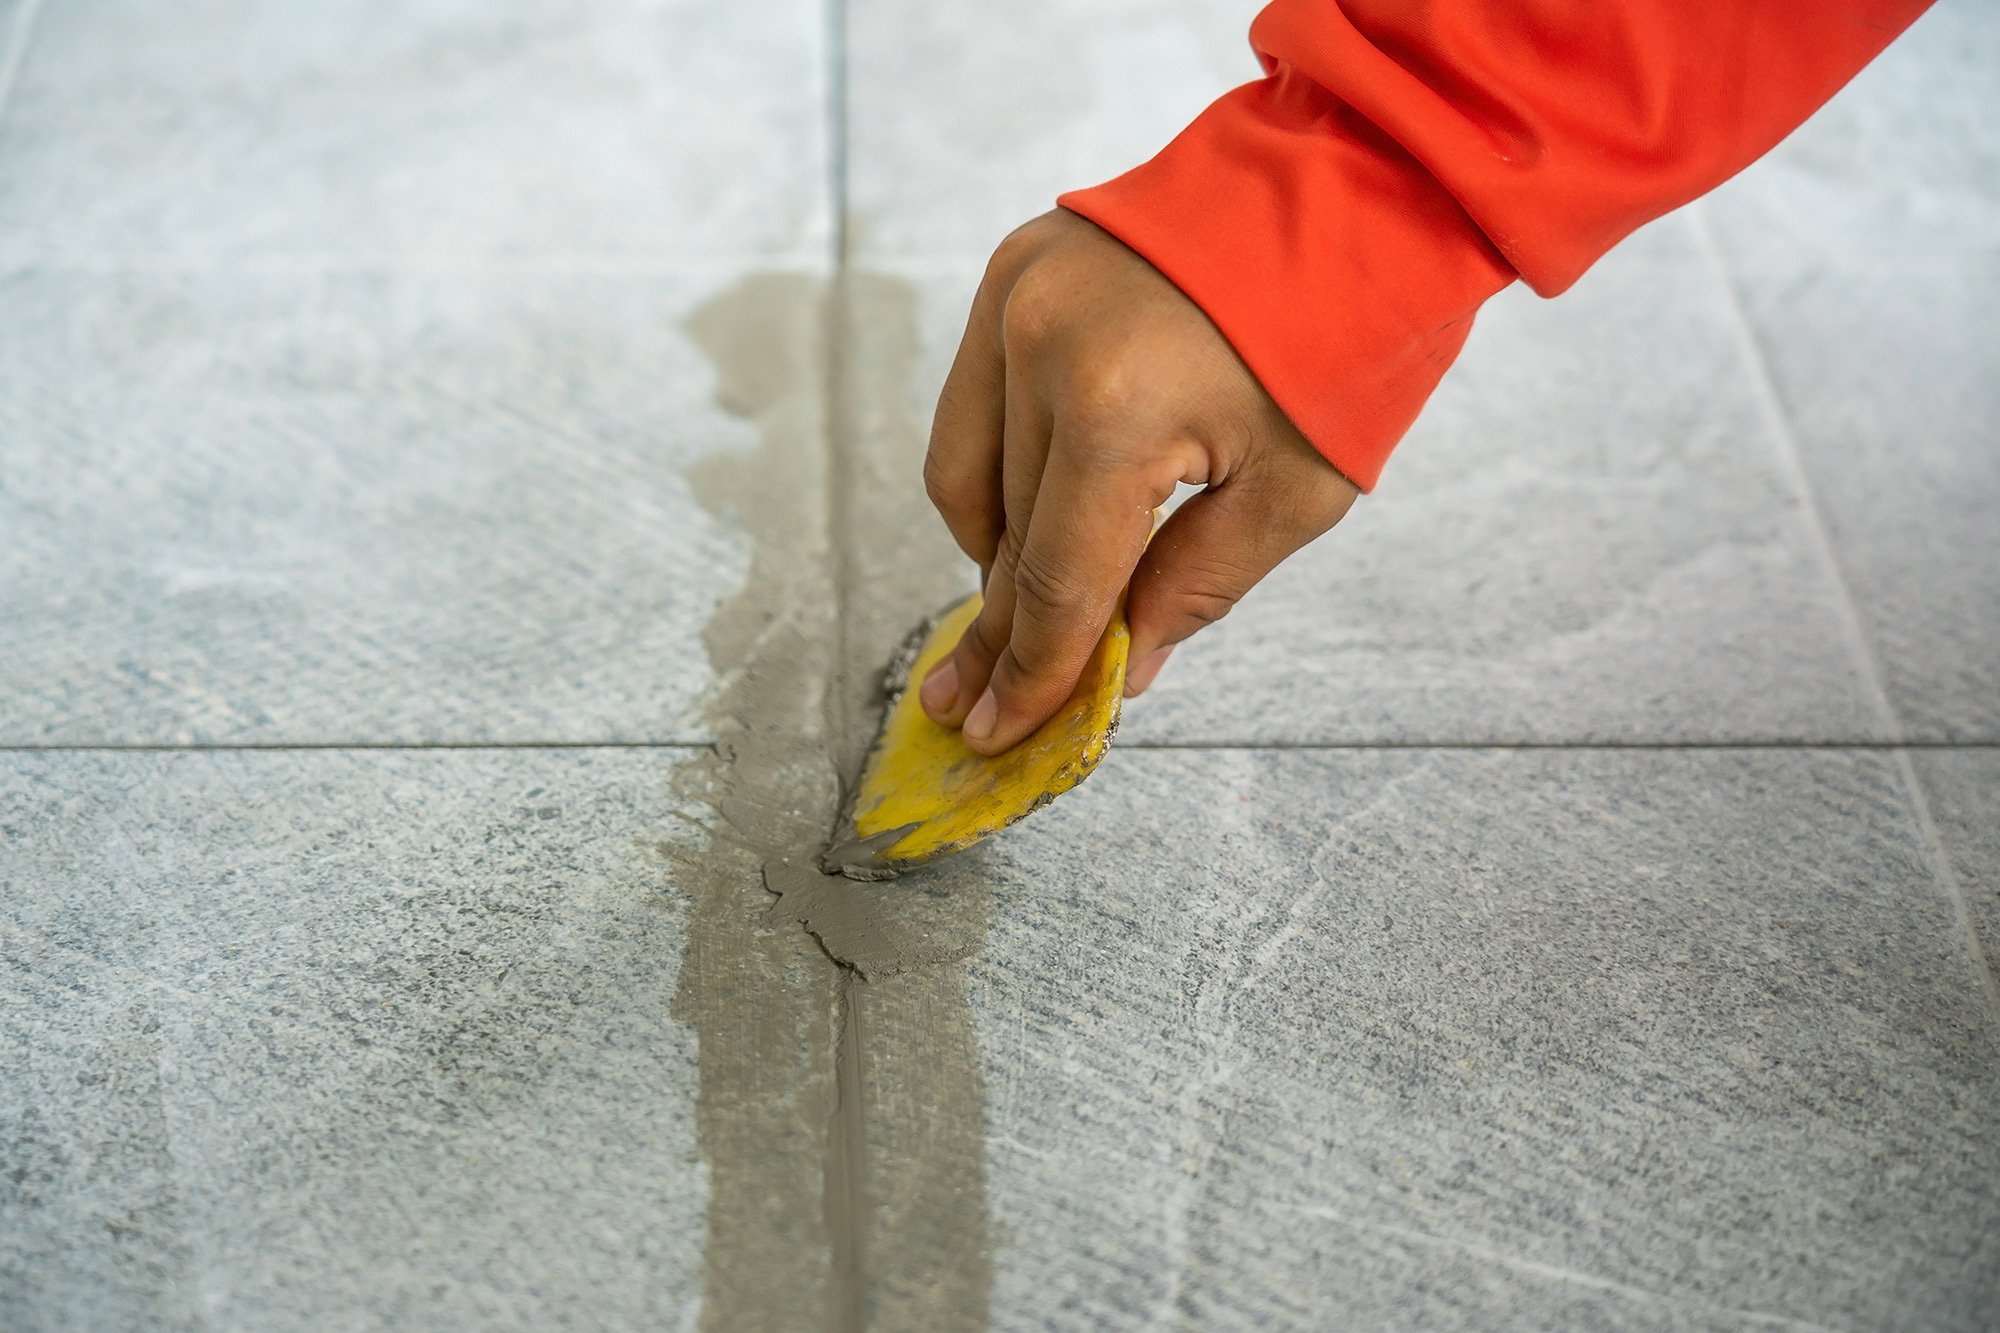
Surface Preparation
Good surface preparation is important to get the right swimming pool waterproofing. It is essential to remove dust, laitance, oil, or loose material so that the membrane can get a proper grip.
- The surface should be dry, clean, and strong.
- For vertical holes or gaps, fill them using B 30 (a high-strength repair material)
- For horizontal gaps or surface repairs, use a polymer-modified mortar mixed with E 135 (improves bonding and flexibility)
- For covings use polymer-modified mortar with E 135 (for added strength and adhesion)
- If any cracks are found, fix them using the same polymer-modified mortar with E 135.
Application of Waterproofing
Membranes for pools need various special properties, such as:
- Flexibility to handle structural movements
- Crack-bridging ability
- Resistance to constant water pressure from both inside and outside
Skipping these qualities can risk premature failure. Thus, you need to always apply membranes as per the datasheet to achieve the required dry film thickness.
Recommended Products
ARDEX ENDURA WPM 002
ARDEX ENDURA WPM002 is a two-component, fibre-reinforced undertile swimming pool waterproofing membrane. It sets fast, allowing tiling within 16–24 hours. Additionally, its flexibility and compatibility with polymer adhesives make it highly reliable for your swimming pools.
ARDEX ENDURA WPM 004 Flex
The WPM 004 Flex is a high-performance acrylic-reinforced membrane. Primarily, it’s designed for both internal and external wet zones. This UV-stable and flexible membrane bridges all the cracks effectively and can withstand hydrostatic pressure while remaining stable even in exposed areas.
Step-by-Step Application Guide
- Primer / Base prep: Start by using Ardex primers on dry surfaces or damp substrates, accordingly.
- First Coat: Then, apply the first membrane coat evenly, especially in coves and fillets.
- Corners and Penetrations: Reinforce with bandages or Deckweb, a waterproofing accessory. Also, treat the pipe penetrations with care.
- Additional Coats: Next, apply a second coat in the opposite direction to the first, all while checking the thickness.
Finishing & Quality Checks
Once cured, the coatings must form a consistent layer. Make sure to do a pond test before filling the pool permanently. Also, check if the thickness is uniform throughout and the membrane bridges all the corners. Finally, use the adhesives and grouts recommended by Ardex Endura to ensure full system integrity and the best results.
Post-Installation Maintenance & Tips
Maintenance should be carried out until the waterproofing is covered with plaster or screed. Since the membrane stays underneath the tiles, it is never directly exposed to water in swimming pools. So, after the installation is complete, employ these practices:
- Use pH-balanced cleaning agents
- Inspect regularly for peeling, blistering, or any cracks
- Fix all the minor damages early and proactively, using suitable repair-grade materials
This routine keeps the pool watertight for years.
Why Choose ARDEX ENDURA Waterproofing Systems?
Ardex Endura offers high-quality solutions, including primers, membranes, adhesives, and grouts that work together. These products meet the highest crack-bridging, VOC control, and waterproofing standards.
In addition, the technical support and detailed datasheets simplify the installation process, ensuring greater safety for both contractors and end users.
Conclusion
Swimming pool waterproofing requires careful preparation and with the right products and proper application, the process becomes much simpler.
Ardex Endura’s WPM 002 and WPM 004 Flex provide the reliability and performance needed for long-lasting, safe pools. Following the step-by-step method meticulously ensures peace of mind and a pool that stands the test of time.