ARDEXARDEX
tile adhesive

by murthy.neha@ardexendura.com

Tile Installation On Existing Tiles

If your floor has begun to show signs of wear or you’ve grown tired of its outdated style, you may wish to have new tiling look.

Tiling over tile is usually a much easier and cheaper solution than pulling up your original tiles and re-tiling your floor or wall. One advantage of doing this is that it eliminates the need for clearing the debris and saves noise pollution and to maintaining the structural stability un-affected.  Also, work-hours saved to pull up the existing tiles, which means the tiling work can be finished much faster and open for usage!

Let see the work timeline for the renovation of existing tile just for 10 Sqm only: –

Removing of existing tiles. : 1 day
Removing of tile adhesive beds. : 1 day
Surface cleaning : 1 day
New tiles fixing : 1 day
Curing tile adhesive bed : 7 day
Grouting the joints by tile grout : 1 day
Curing : 7 day

Hence, the total process of replacement of tiles takes 19 days. Of course, the area of working will not be able to use by others as it causes mess.

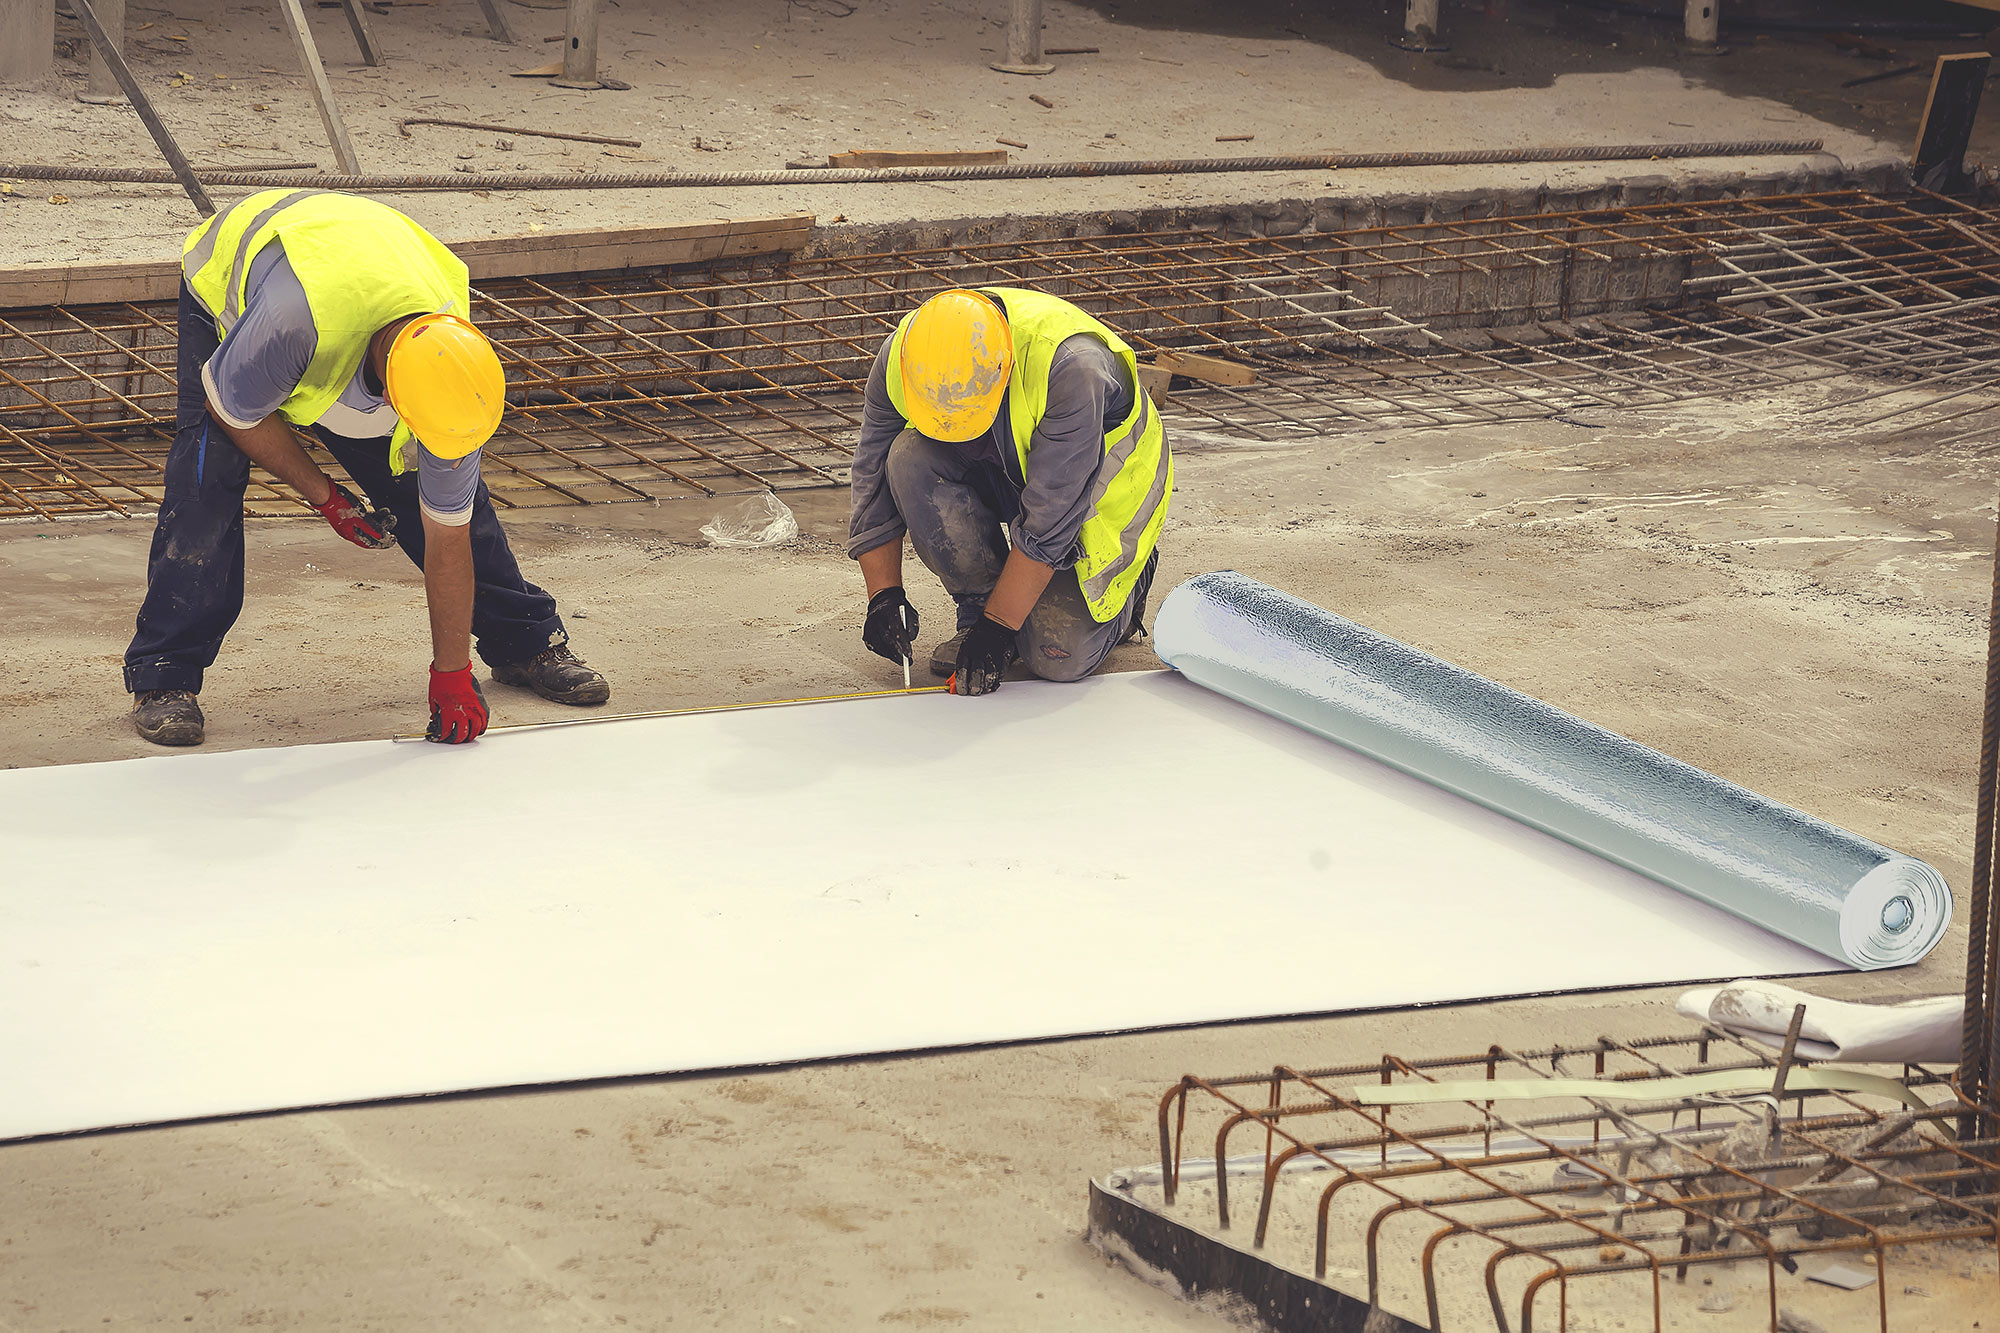
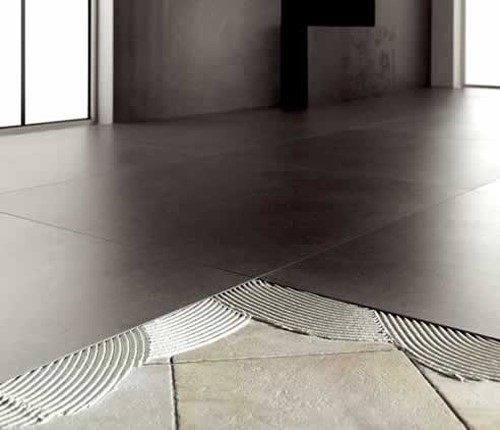
The following are few photos taken in site while the process of replacement of tile was undergoing.

In all the above process, it is just waste of time, not of any use. The removed tiles are not reusable. While removing the tiles by mechanical or manual means, the process damaged the underneath substrate and even structural stability by passing the dynamic load. All the debris got by entire process may be used for just back filling works only. Also, it causes the environment pollution by creating dust, dirt and sound.

Installing tile over tile, however, does have some downsides also. These include the floor height, which can become an issue as it could make the tiled over floor high and possibly block doors.  Removing doors and trimming them to the correct height of the newly tiled floor can overcome this concern. Precise measuring will need to be done before applying the tiling over tile method.

Inspection of the existing tiles is very important to make sure that they are adhering well to the substrate. Tiles that adhere well, do not sound hollow when tapped. The best way to check the tiles for ‘hollowness’ is to tap each one with the back of a screwdriver and listen for a hollow sound. If the tiled area is 95% free from hollow sounds, it is good for tiling over. Any localized loose tiles may be removed and the spot.

You are now set to do the retiling work. The following steps are helpful tips when installing tile over tile:

  • Clean the existing tiles with detergent and water to remove dirt, sealers and wax. Rinse the surface with clear water and let it dry.
  • Mix and apply the thin set adhesive onto the prepared existing tile surface which can be covered within the open time of the adhesive.
  • Install new tiles on the adhesive and press it in twisting action to ensure 100% bonding coverage.
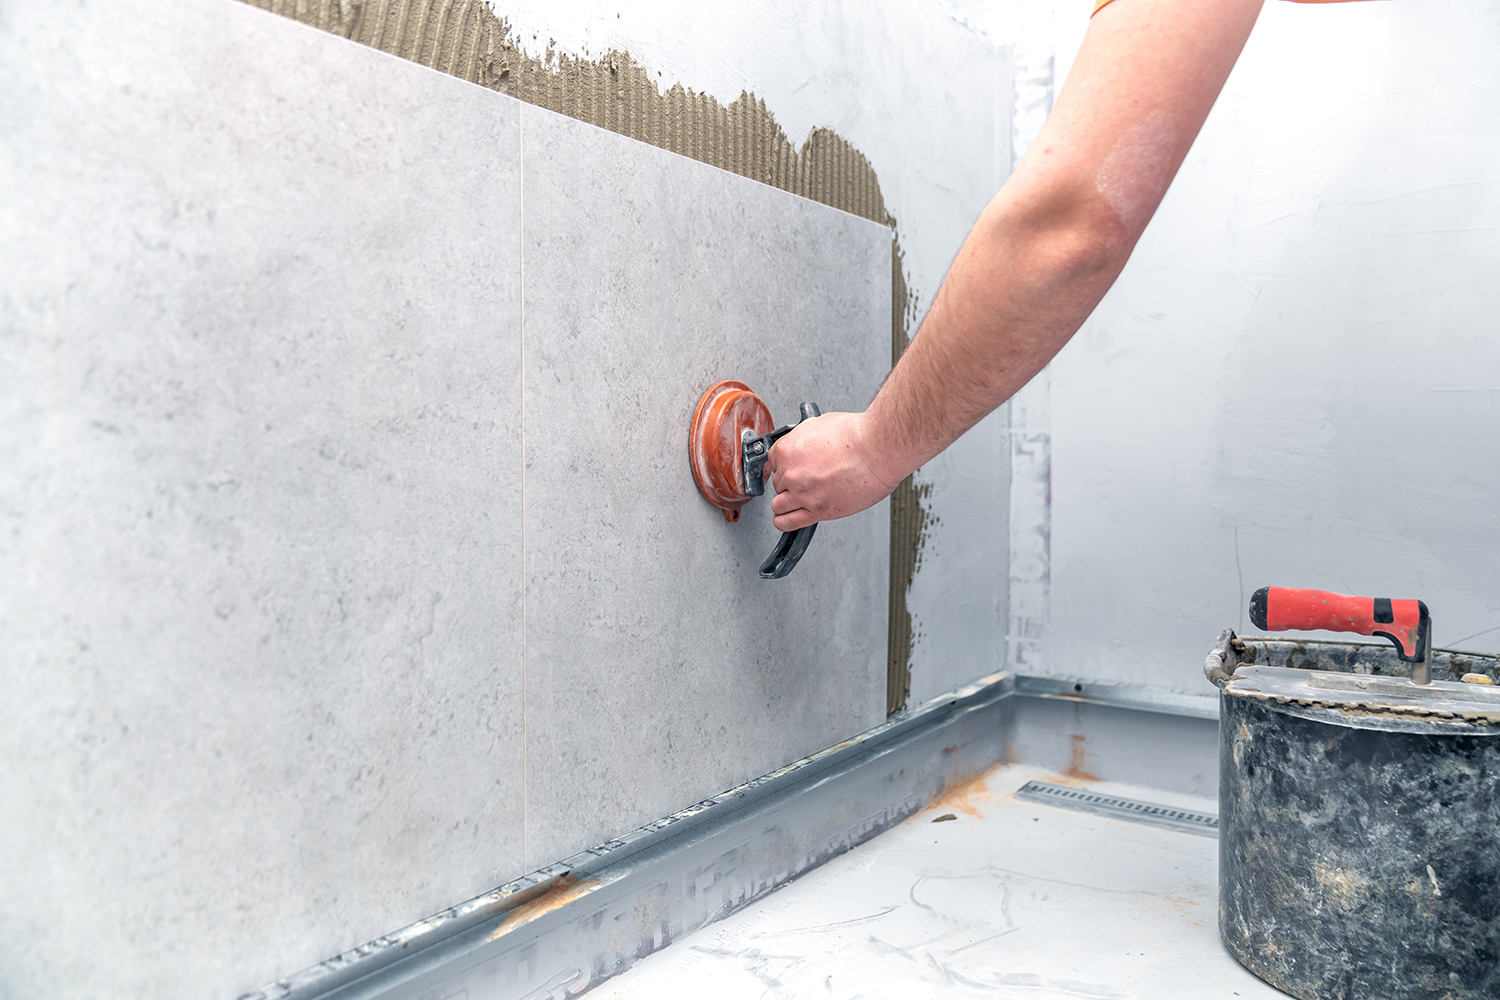
  • While tiling on a wall, the total weight of minimum 32 kg per square meter must be taken into account. The first layer of tiles and adhesive will be loaded by the second layer, but then both layers will cumulatively load up the substrate.
  • Shaded external walls and floors with adequate falls to prevent ponding water are acceptable.

Do not adopt ‘tile-on-tile’ installations in:

  • External applications including high facades & walls, cantilevered verandahs or decks, and tiled driveways as these areas can be subject to high stresses and movements.
  • Swimming pools and ponds as this is not recommended as a standard practice.

To save time, money, structural stability and to provide the working area quickly to users, ARDEX ENDURA provides, DIAMOND STAR adhesive (CT1 range of EN 12004 requirement) for installation of small size and light weight tiles and ArdiFlex S1 (C2TES1) for the installation of large format tiles on existing tiles.

For more information on ARDEXENDURA products, visit www.ardexendura.com

If your floor has begun to show signs of wear or you’ve grown tired of its outdated style, you may wish to have new tiling look.

Tiling over tile is usually a much easier and cheaper solution than pulling up your original tiles and re-tiling your floor or wall. One advantage of doing this is that it eliminates the need for clearing the debris and saves noise pollution and to maintaining the structural stability un-affected.  Also, work-hours saved to pull up the existing tiles, which means the tiling work can be finished much faster and open for usage!

Let see the work timeline for the renovation of existing tile just for 10 Sqm only: –

Removing of existing tiles. : 1 day
Removing of tile adhesive beds. : 1 day
Surface cleaning : 1 day
New tiles fixing : 1 day
Curing tile adhesive bed : 7 day
Grouting the joints by tile grout : 1 day
Curing : 7 day

Hence, the total process of replacement of tiles takes 19 days. Of course, the area of working will not be able to use by others as it causes mess.

The following are few photos taken in site while the process of replacement of tile was undergoing.

In all the above process, it is just waste of time, not of any use. The removed tiles are not reusable. While removing the tiles by mechanical or manual means, the process damaged the underneath substrate and even structural stability by passing the dynamic load. All the debris got by entire process may be used for just back filling works only. Also, it causes the environment pollution by creating dust, dirt and sound.

Installing tile over tile, however, does have some downsides also. These include the floor height, which can become an issue as it could make the tiled over floor high and possibly block doors.  Removing doors and trimming them to the correct height of the newly tiled floor can overcome this concern. Precise measuring will need to be done before applying the tiling over tile method.

Inspection of the existing tiles is very important to make sure that they are adhering well to the substrate. Tiles that adhere well, do not sound hollow when tapped. The best way to check the tiles for ‘hollowness’ is to tap each one with the back of a screwdriver and listen for a hollow sound. If the tiled area is 95% free from hollow sounds, it is good for tiling over. Any localized loose tiles may be removed and the spot.

You are now set to do the retiling work. The following steps are helpful tips when installing tile over tile:

  • Clean the existing tiles with detergent and water to remove dirt, sealers and wax. Rinse the surface with clear water and let it dry.
  • Mix and apply the thin set adhesive onto the prepared existing tile surface which can be covered within the open time of the adhesive.
  • Install new tiles on the adhesive and press it in twisting action to ensure 100% bonding coverage.
  • While tiling on a wall, the total weight of minimum 32 kg per square meter must be taken into account. The first layer of tiles and adhesive will be loaded by the second layer, but then both layers will cumulatively load up the substrate.
  • Shaded external walls and floors with adequate falls to prevent ponding water are acceptable.

Do not adopt ‘tile-on-tile’ installations in:

  • External applications including high facades & walls, cantilevered verandahs or decks, and tiled driveways as these areas can be subject to high stresses and movements.
  • Swimming pools and ponds as this is not recommended as a standard practice.

To save time, money, structural stability and to provide the working area quickly to users, ARDEX ENDURA provides, DIAMOND STAR adhesive (CT1 range of EN 12004 requirement) for installation of small size and light weight tiles and ArdiFlex S1 (C2TES1) for the installation of large format tiles on existing tiles.
For more information on ARDEXENDURA products, visit www.ardexendura.com

You May Be Interested In…

tile adhesive

Tile Adhesives Standard

Tile Cleaners

Importance of Joints, Spacers and correct Grouting

Natural Stone Sealer For Protection – Concerns & Solution

tile adhesive

Tile Installation On Existing Tiles

Agglomerated Marble Installation

4,847 Views
murthy.neha@ardexendura.com
About murthy.neha@ardexendura.com
tile adhesive
Tile Installation On Existing Tiles