Self-Levelling Floor Repair Compounds: When and How to Use Them
 ARDEX ENDURA
 03 Dec 2025
 05 Min
Why Choose Self-Levelling Compounds for Floor Repairs?
A self-levelling compound can smartly save both your time and effort when it comes to floor preparation. Instead of battling uneven screeds or patchy concrete, a good self-levelling compound flows across the surface, thereby creating a smooth, flat finish. The result is a base that’s ready for tiles, vinyl, epoxy, or PU coatings without endless trowel work.
The main reasons professionals turn to these compounds are:
- They cure quickly, which means you can walk on them in a few hours (depending on the product).
- They leave a neat and consistent surface.
- They are easy to mix and apply, so large areas can be handled in less time.
A self-levelling cement is especially handy when:
- You’re preparing a self-levelling floor before putting down tiles or coverings.
- An old screed has become worn and uneven.
- A flat base is needed in commercial or industrial spaces before you install any heavy-duty coatings.
So, if you’re planning a flooring project, keep reading as we’ll discuss the various use cases and step-by-step self-levelling floor preparation with the industry-best compounds.
When to Use Self-Levelling Compounds
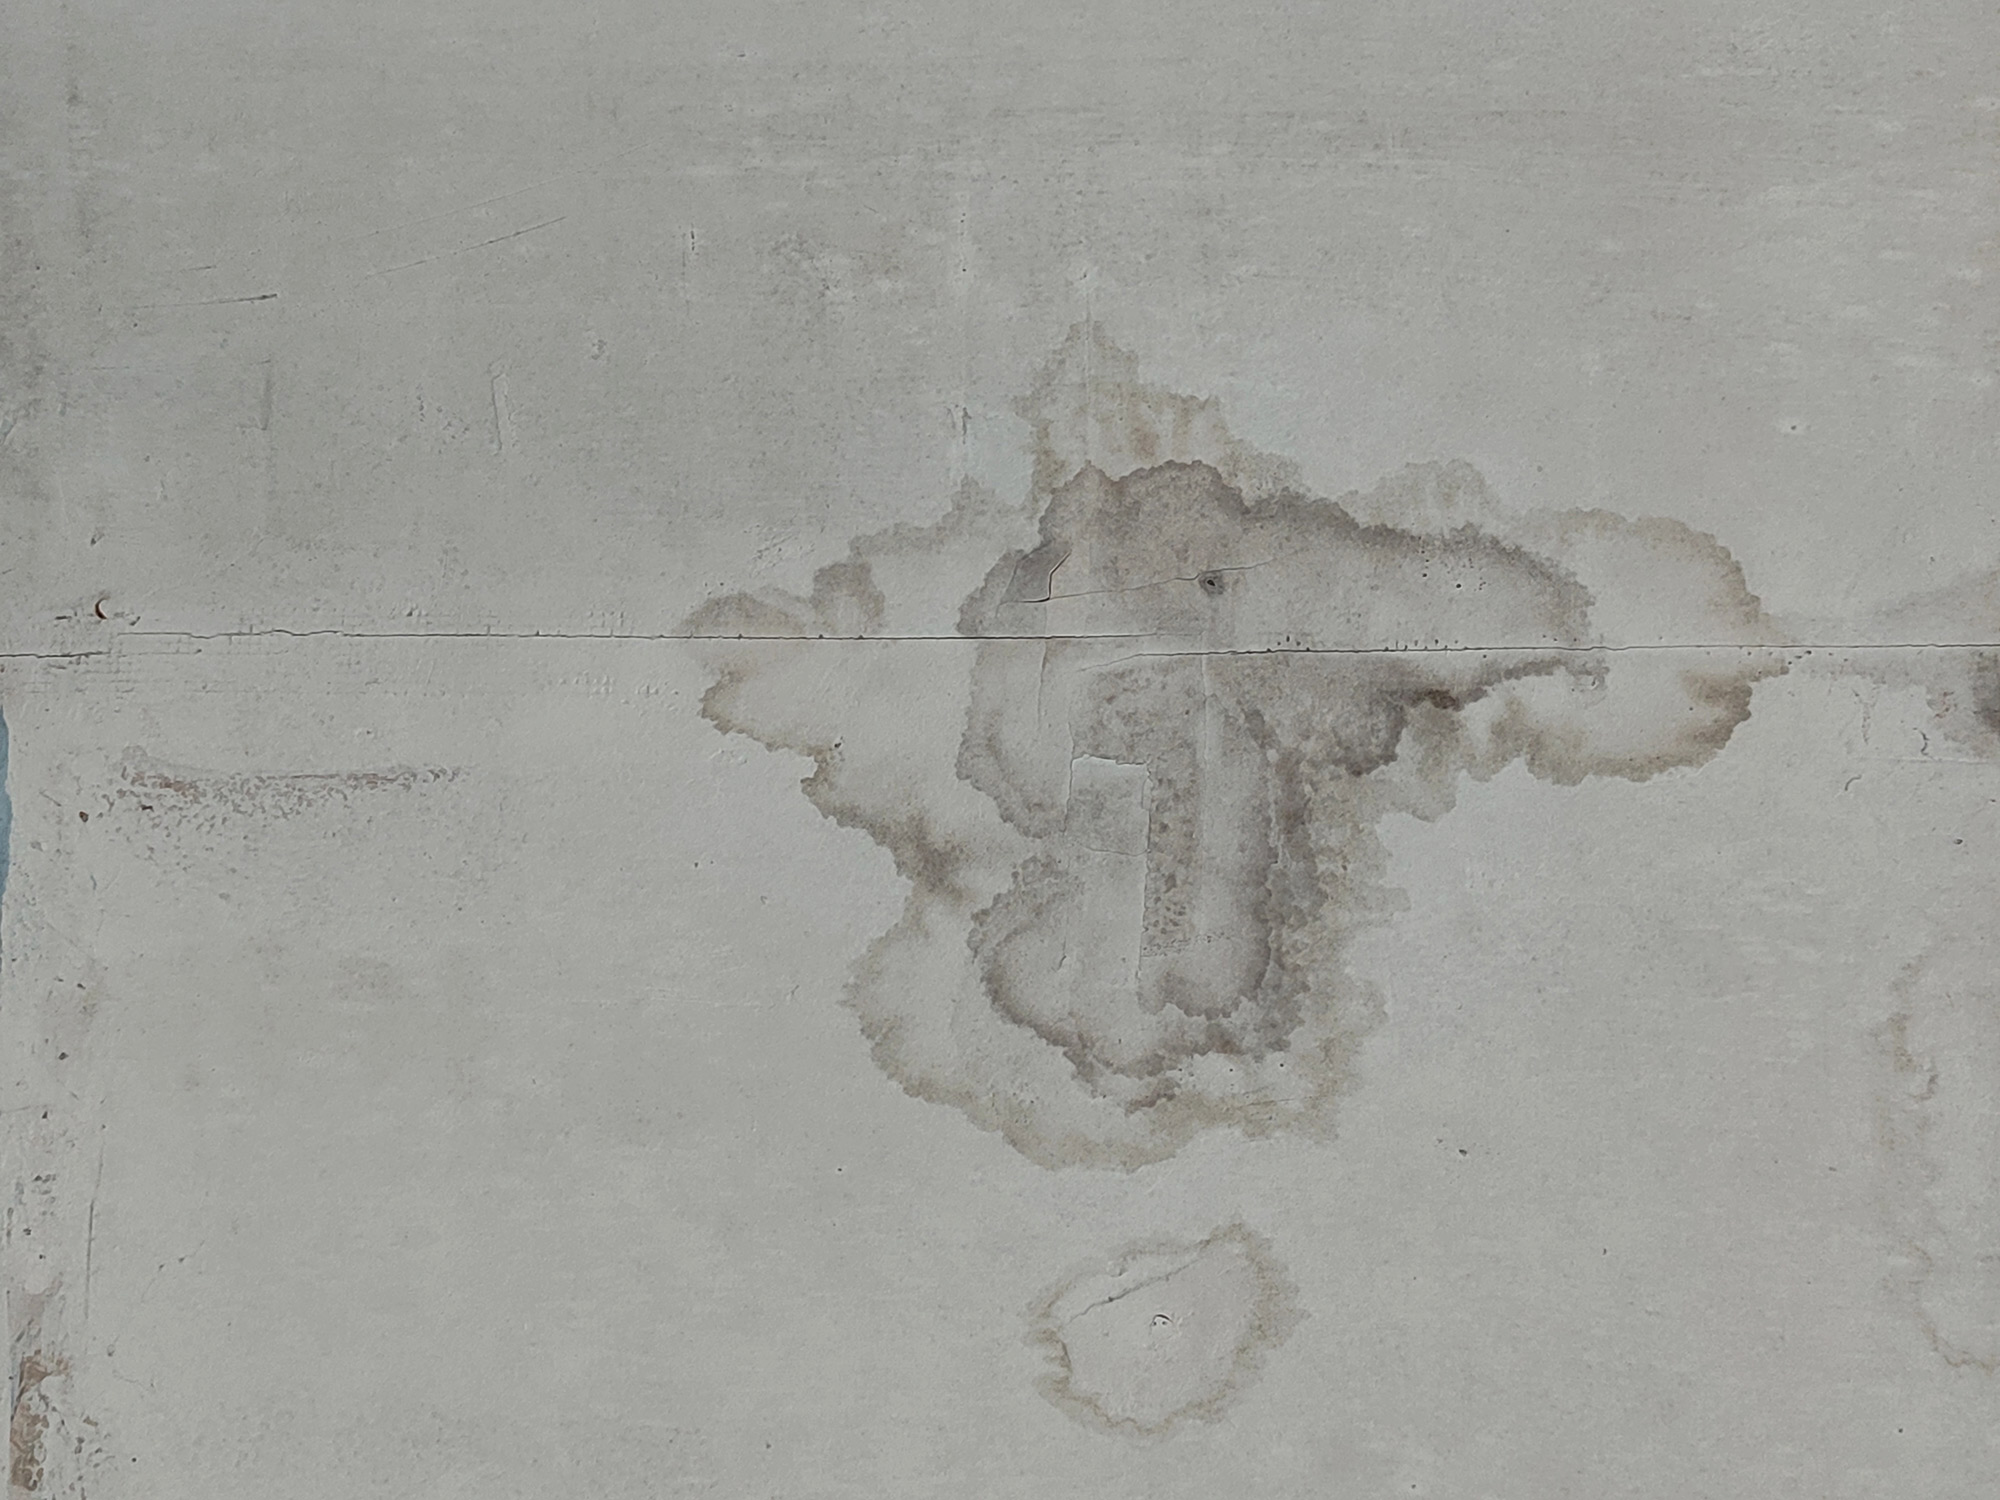
Not every floor needs self-levelling, but there are several situations where self-levelling compounds make all the difference. If the surface you’re dealing with has visible dips, ridges, or small patches of wear, a self-levelling cement can make corrections, and it is essential before you lay the final covering.
They are useful for:
- Minor surface damage, like shallow depressions.
- Bringing uneven concrete or screeds back to a flat level.
- Preparing substrates for coatings in areas with high traffic.
These compounds work well on sound concrete slabs, as well as cementitious screeds. Additionally, the substrate must be clean and stable before you apply the self-levelling compound.
How to Prepare the Surface Before Application
Preparation for a flooring job heavily impacts the result. You should, thus, sweep and vacuum the surface so that there’s no dust, grease, or loose material left. Also, any oil, wax, or polish residues must be properly removed.
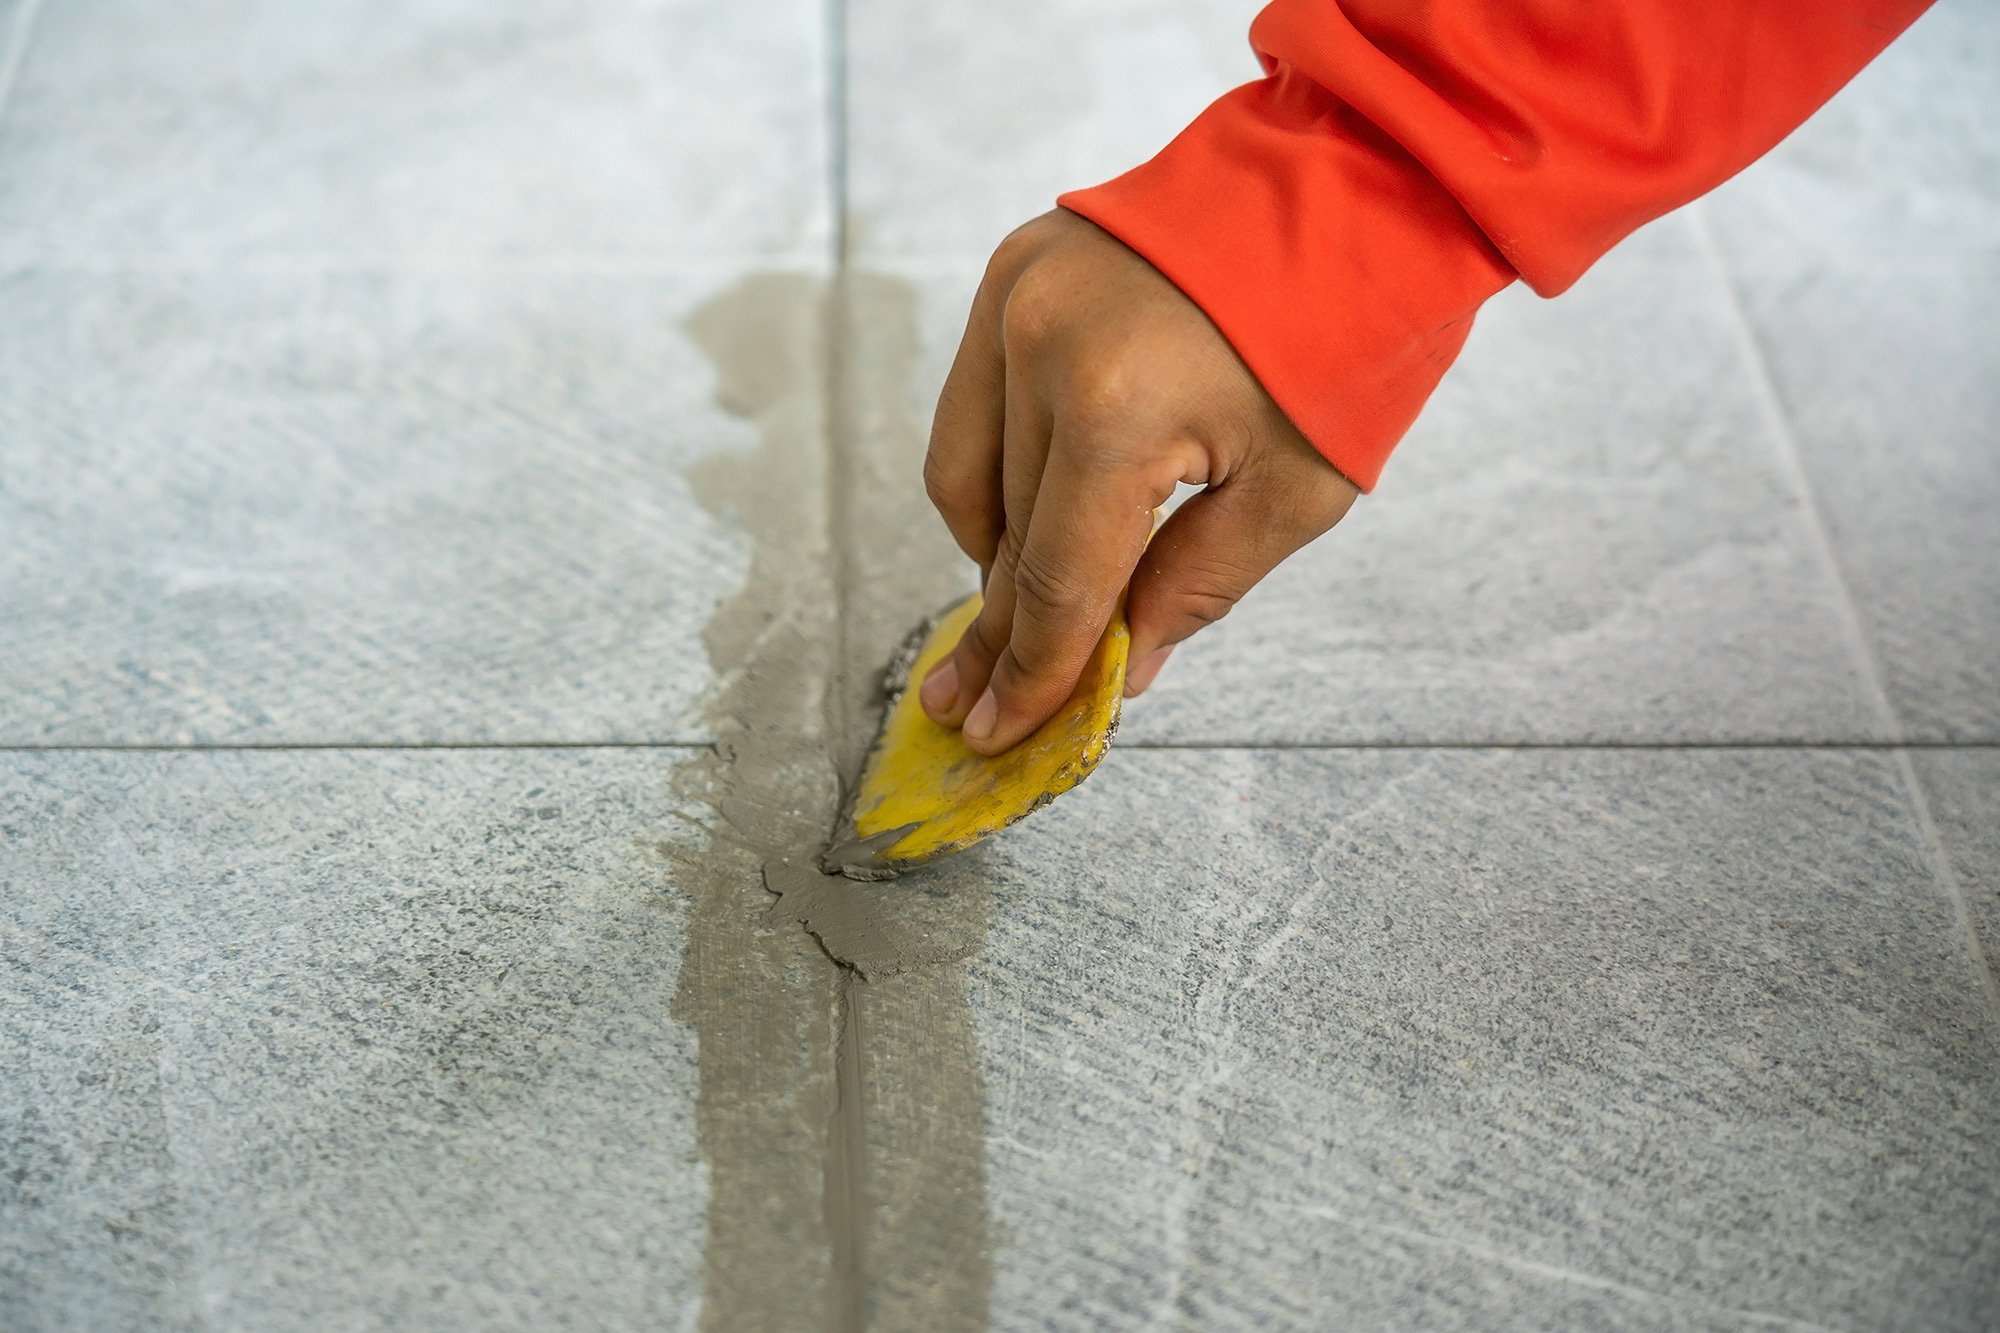
It is essential to repair the cracks with a suitable filler. Major structural cracks or movement joints should be extended through to the finished layer.
Priming a self-levelling floor is critical as well. Hence, we suggest:
- Porous substrates: Apply a primer to stop air bubbles from forming. Ardex P 51 Plus is a concentrated, water-based primer and bonding agent for a variety of porous surfaces.
- Dense or smooth concrete: Ideally, use an epoxy primer with a sand scatter to help it bind strongly. For example, Ardex R 3 E is moisture-tolerant, solvent-free epoxy primer, typically for cementitious floor systems.
Step-by-Step Application Process
- Mixing Guidelines - Mix the powder with clean water according to the manufacturer’s guidelines, which may vary by product. Always use a paddle mixer to get a smooth lump-free consistency.
- Tools Required - You need a paddle mixer, trowel, spiked roller, and, for large areas, a pump.
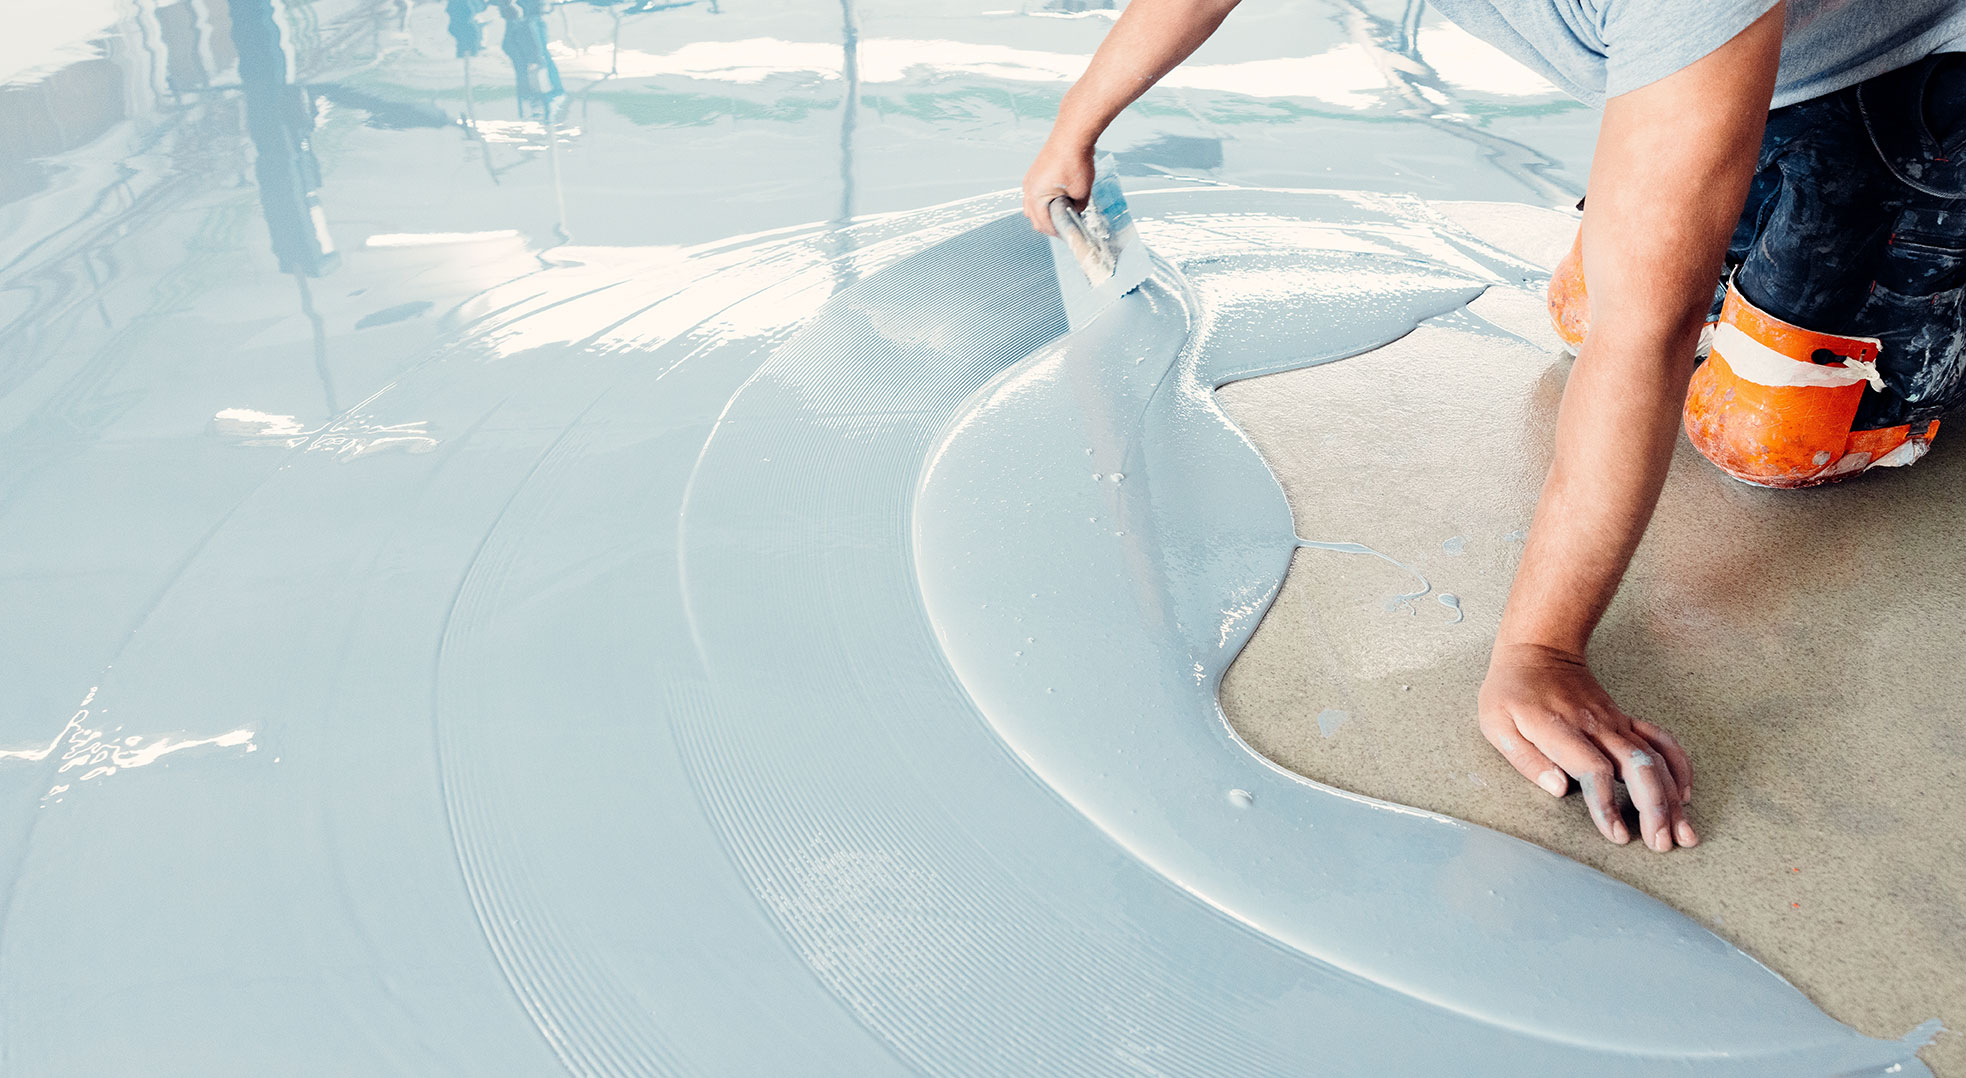
- Pouring and Spreading - Once the product is prepared, pour it onto the primed floor. Then, let it flow and guide it with a trowel. You can use a spiked roller briefly to release trapped air.
- Curing and Drying - Typically, curing times vary depending on the product, so always follow the manufacturer’s guidelines.
Common Mistakes to Avoid
Even the best quality can fail to give the desired results. Hence, to ensure success, you must look out for these common pitfalls:
- Skipping the primer leads to poor adhesion and bubbles.
- Laying self-levelling cement over damp or contaminated substrates.
- Adding too much water or mixing poorly.
- Applying a layer that is too thick or too thin, outside the product’s limits.
Recommended ARDEX ENDURA Products
ARDEX ENDURA CL 11 Plus
CL 11 by Ardex Endura is a rapid-hardening, free-flowing smoothing compound. You can apply it in layers 3–10 mm thick, and it is walkable in just 3 hours. It contains high-quality resins, special cements and fillers. When mixed with water, it forms a free-flowing, self-levelling mortar that creates a smooth, flat surface on hard floors such as cement screeds and concrete.
ARDEX ENDURA K 180 Plus
K 180 is a rapid-hardening, self-leveling compound. It becomes walkable in about 4 hours and is ready for use after 24 to 72 hours. It is made with high quality synthetic resins, special cements, fillers and other additives.
Where These Products are Best Used
- K 180 Plus: Any warehouses, factories, and industrial floors that need a durable levelling layer.
- CL 11 Plus: Works well for commercial shops, homes, and areas needing a smooth finish before coverings.
Both these solutions are best suited for hospitals, showrooms, and public spaces where flatness and reliability are inherently critical.
Conclusion - Final Tips for a Durable Finish
A proper self-levelling job goes beyond just pouring and smoothing — it’s equally important to follow the drying times specified in the product manual.
Moreover, it is essential to maintain the right temperature and protect the new layer with a suitable top coat. When done correctly, these compounds provide a long-lasting and reliable base that helps your final flooring maintain its best appearance.